
How to Install A Peg Rail with Bead-board
/We had this large open wall in our basement apartment that I felt like could use a little interest and function.
We decided to install beadboard with a peg rail and here’s how we did it….


SUPPLIES:
2, 4’x8’ bead board sheets from Home Depot ($20 per)
2 6’ 1x6 pine boards from Home Depot for the baseboard
2, 6’ 1x4 pine board from Home Depot for the peg rail
any sort of liquid adhesive, we used pl construction adhesive
wood glue
painters caulk, wood filler
paint, obvi
TOOLS
saw to cut boards to length and peg board to size
drill w/ 1/2’’ bit to drill holes for pegs, counter sink bit for peg rail screws
nail gun
level (to make sure bead board and peg rail look right)
STEPS:
Measure the space + buy the correct amount of beadboard and trim boards. We had them cut them bead board in half while at Home Depot rather than cut them at home and used the 4’ resulting sheets as our height.
Cut 1x6 baseboard to length and attach to wall with nail gun using level to confirm it is straight.
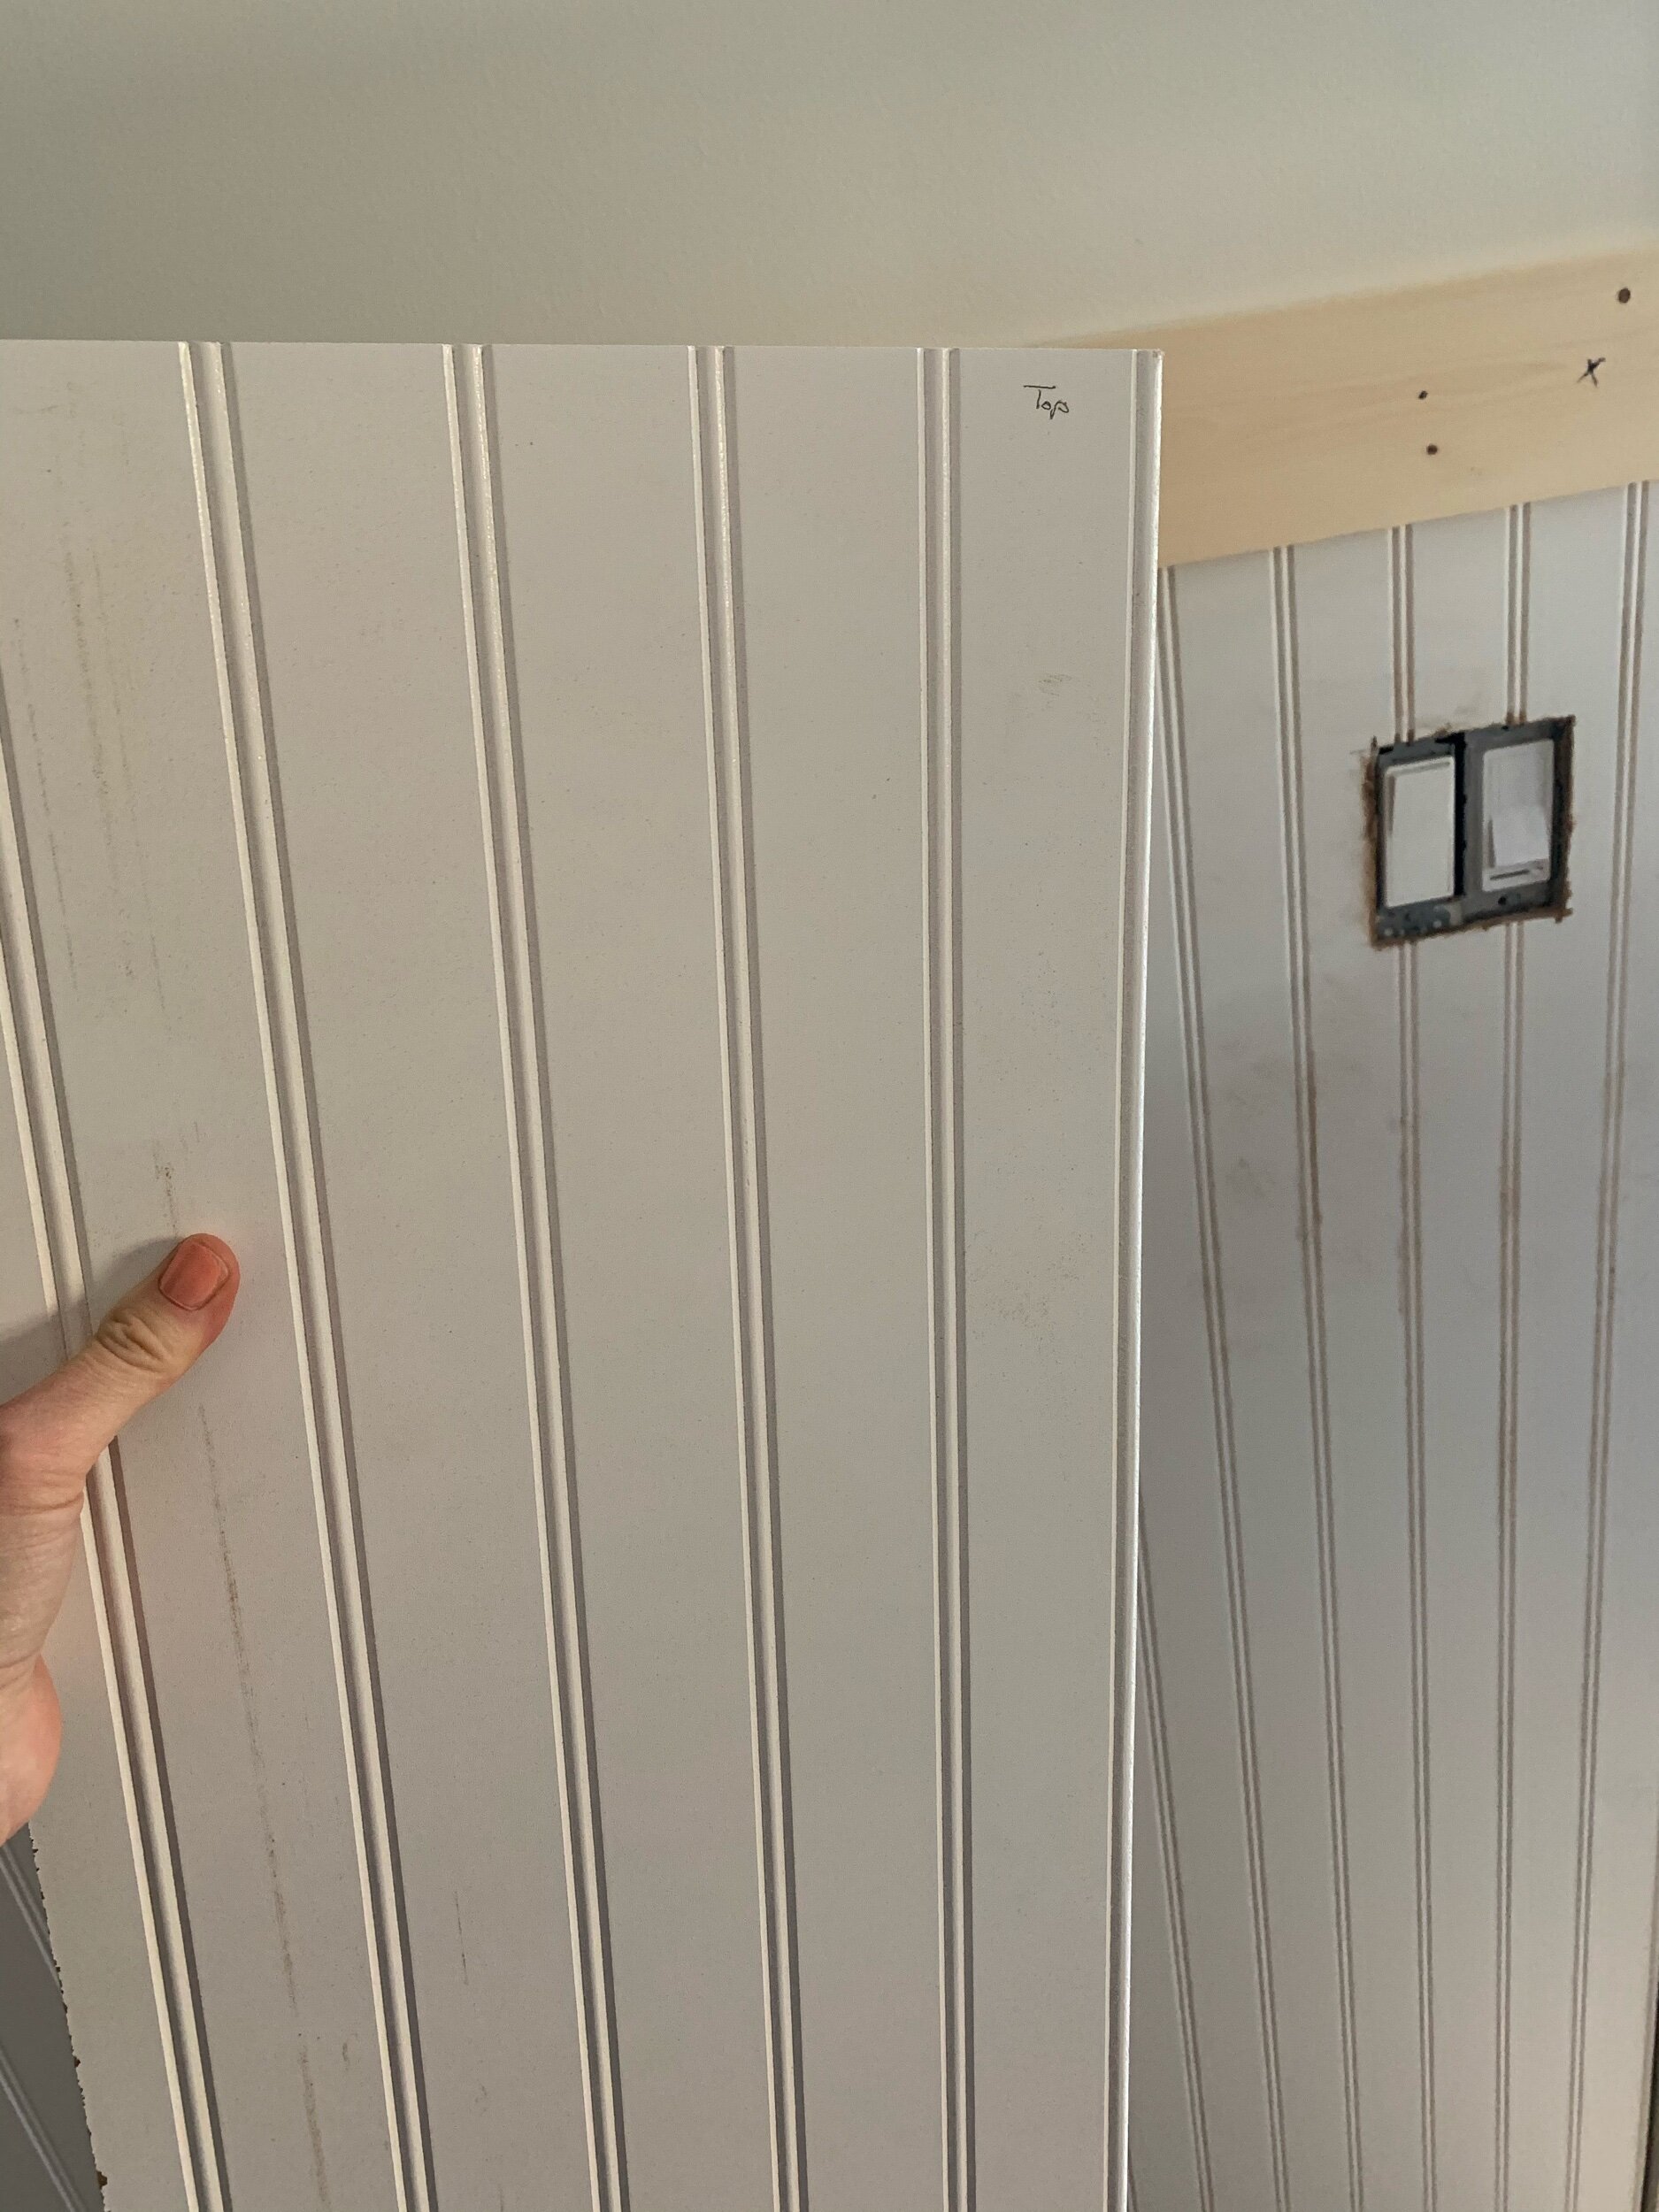
Using a circular saw and straight edge, cut the bead board panels to width and a jig saw to cut for any outlet openings.
We double checked to make sure they would fit on the wall by lining them on the wall. You want to make sure the grooves line up correctly.

5. We used Loctite Construction Adhesive and finish nails to attach the bead board.

6. Next we estimated where we wanted to pegs to go - by marking them and measuring so they were the same distance apart. We decided on 9’’ distance on one wall and 8.5’’ on the other so that they would look similarly spaced and so there would be a few inches between the last peg and the wall or door.
We marked the center line of the 1x4s that we had cut to length and the center of the board where the center peg would go. We then marked the appropriate distance of each additional peg and used the drill and 1/2’’ bit to drill almost (but not quite) through the board for the pegs.

7. We put wood glue in each hole and inserted the pegs, wiping off excess glue, and let it dry overnight.

8. Using the level, counter sink bit, and screws, we attached the top peg rails. We used screws so that the rail could hold heavier objects.

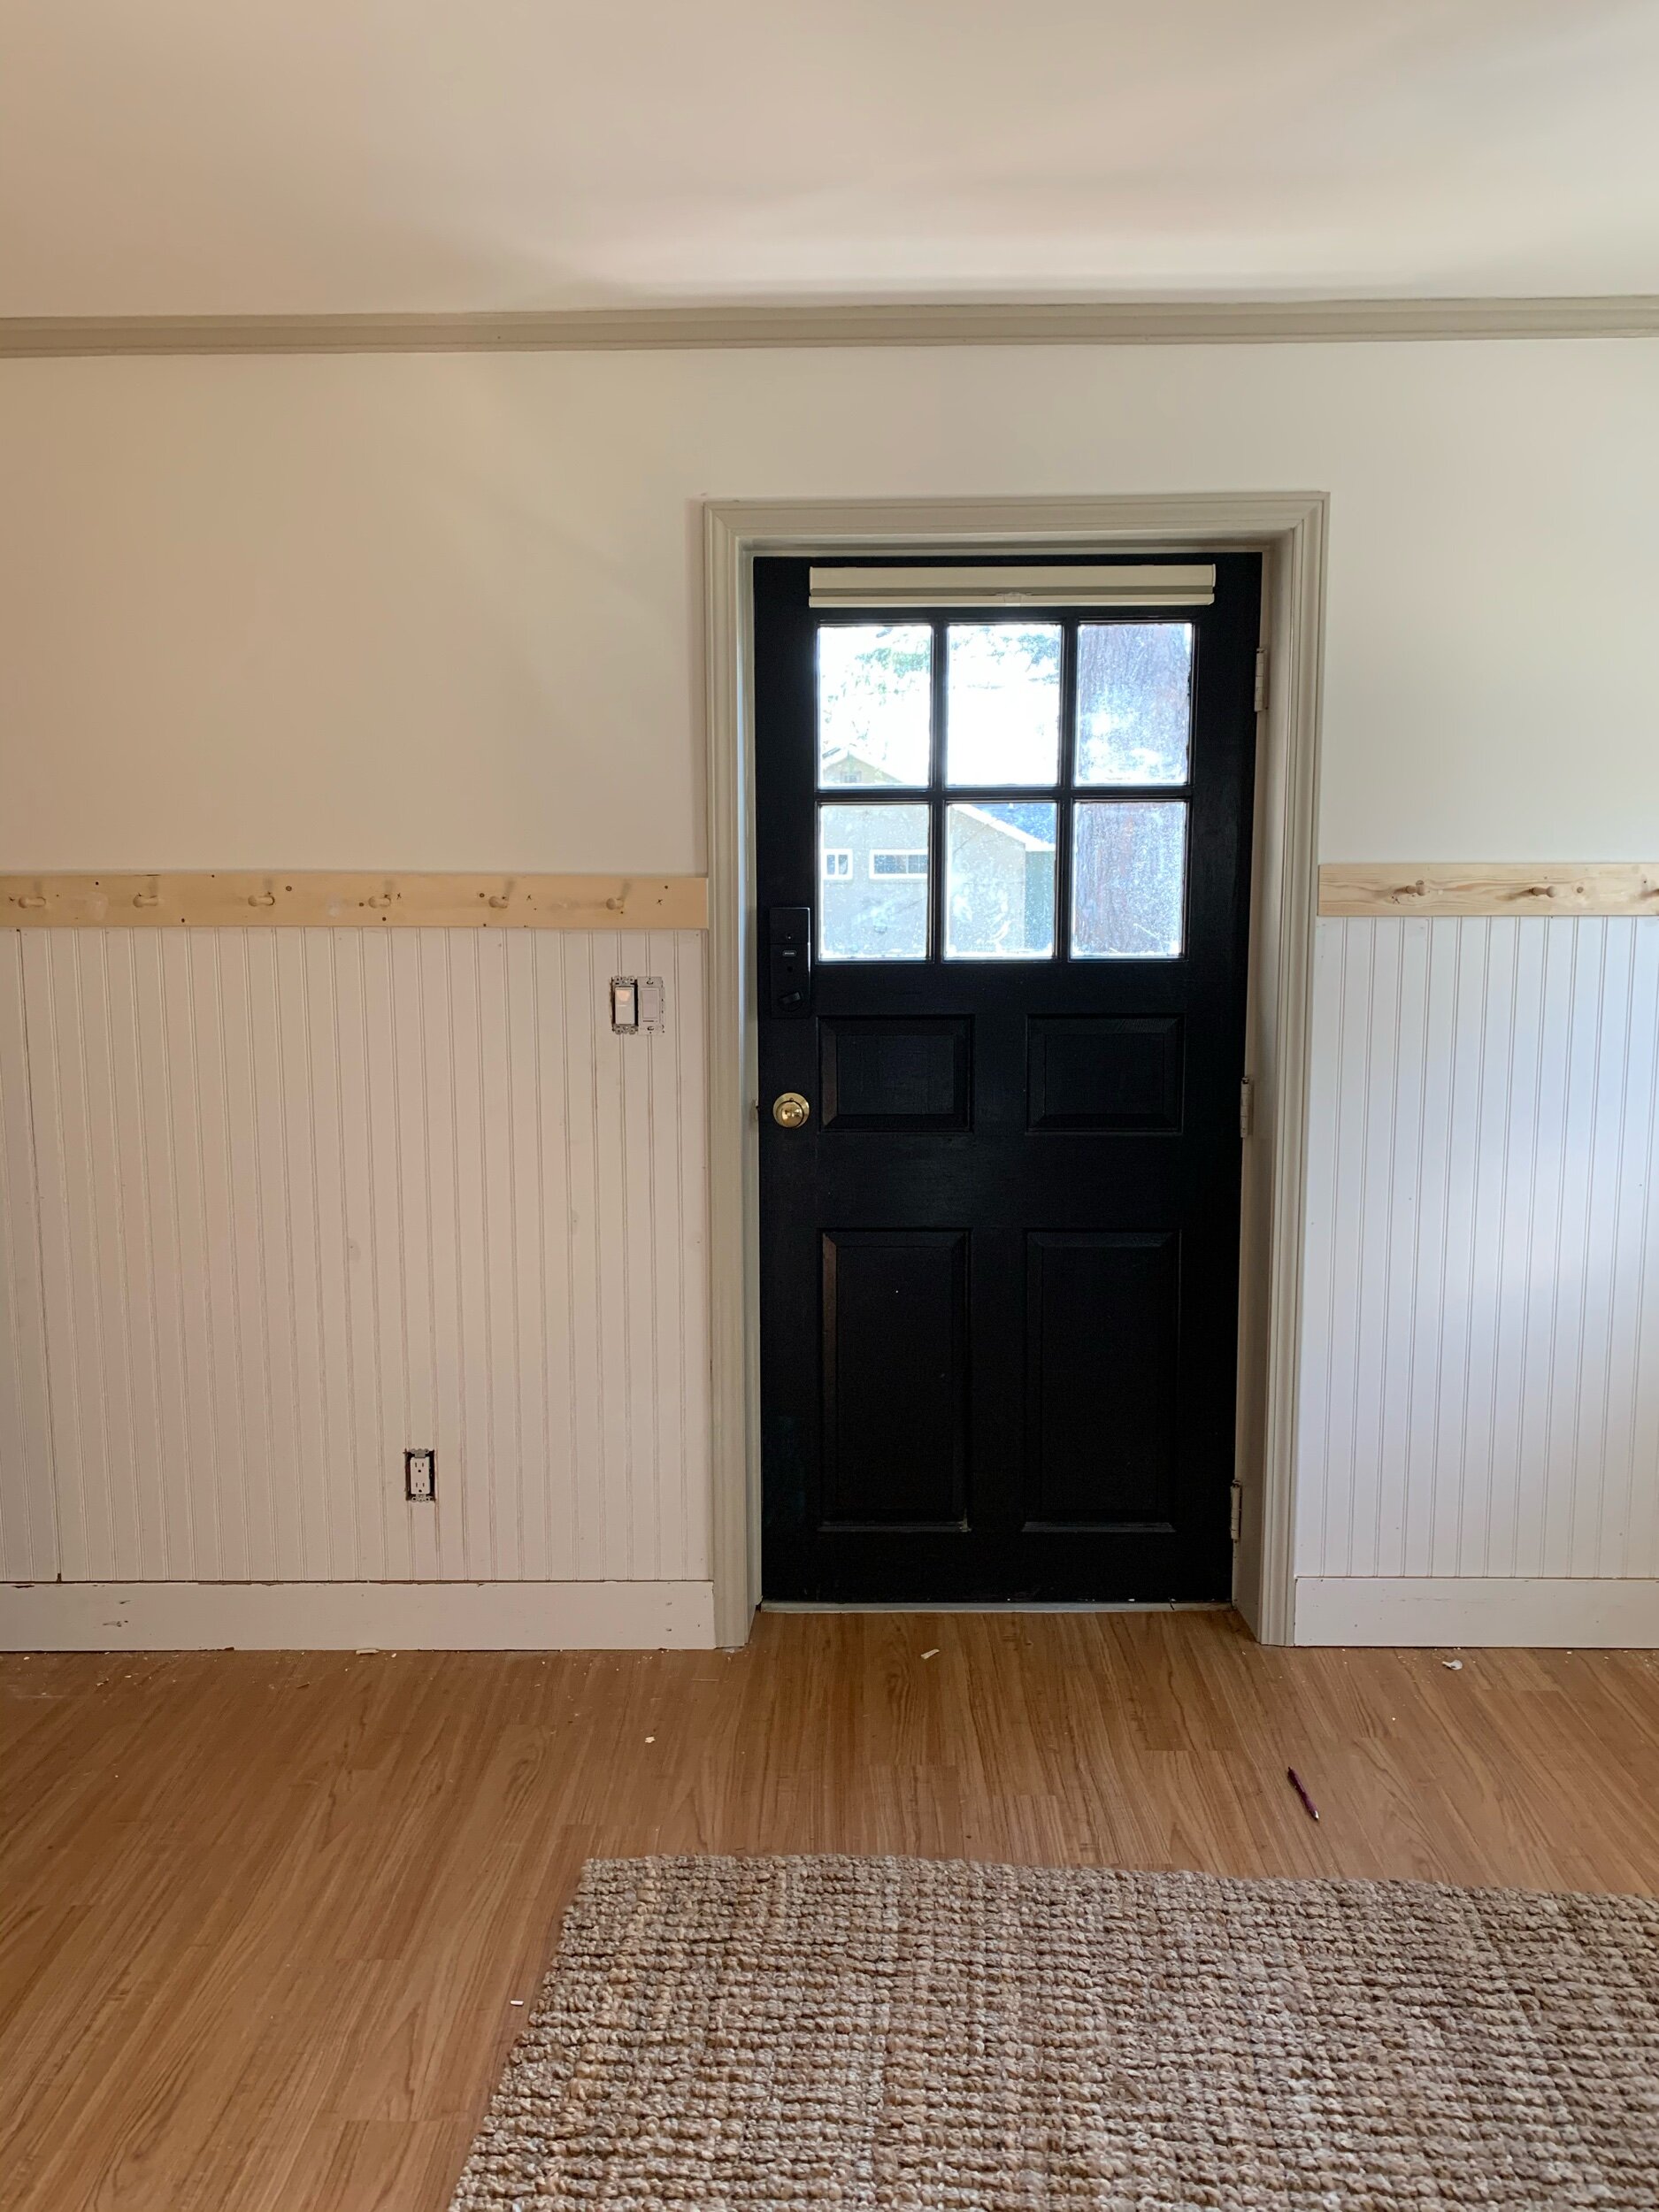
9. Then we caulked the joints, filled the holes, and painted.

The paint color here is Behr Scluptors Clay. The walls are Behr Simply White.
This print is here. Take 25% off with code KATIEBOWLING