Painted Patio DIY
/The inside of our house has everything I could possibly wish for…the backyard has so much potential, but we haven’t been able to do anything with it yet. We had a deck that only seats two (I don’t understand that 1960s style choice). We don’t have the budget to add onto the deck at the moment so we are going to work on a little patio at the end of our property.
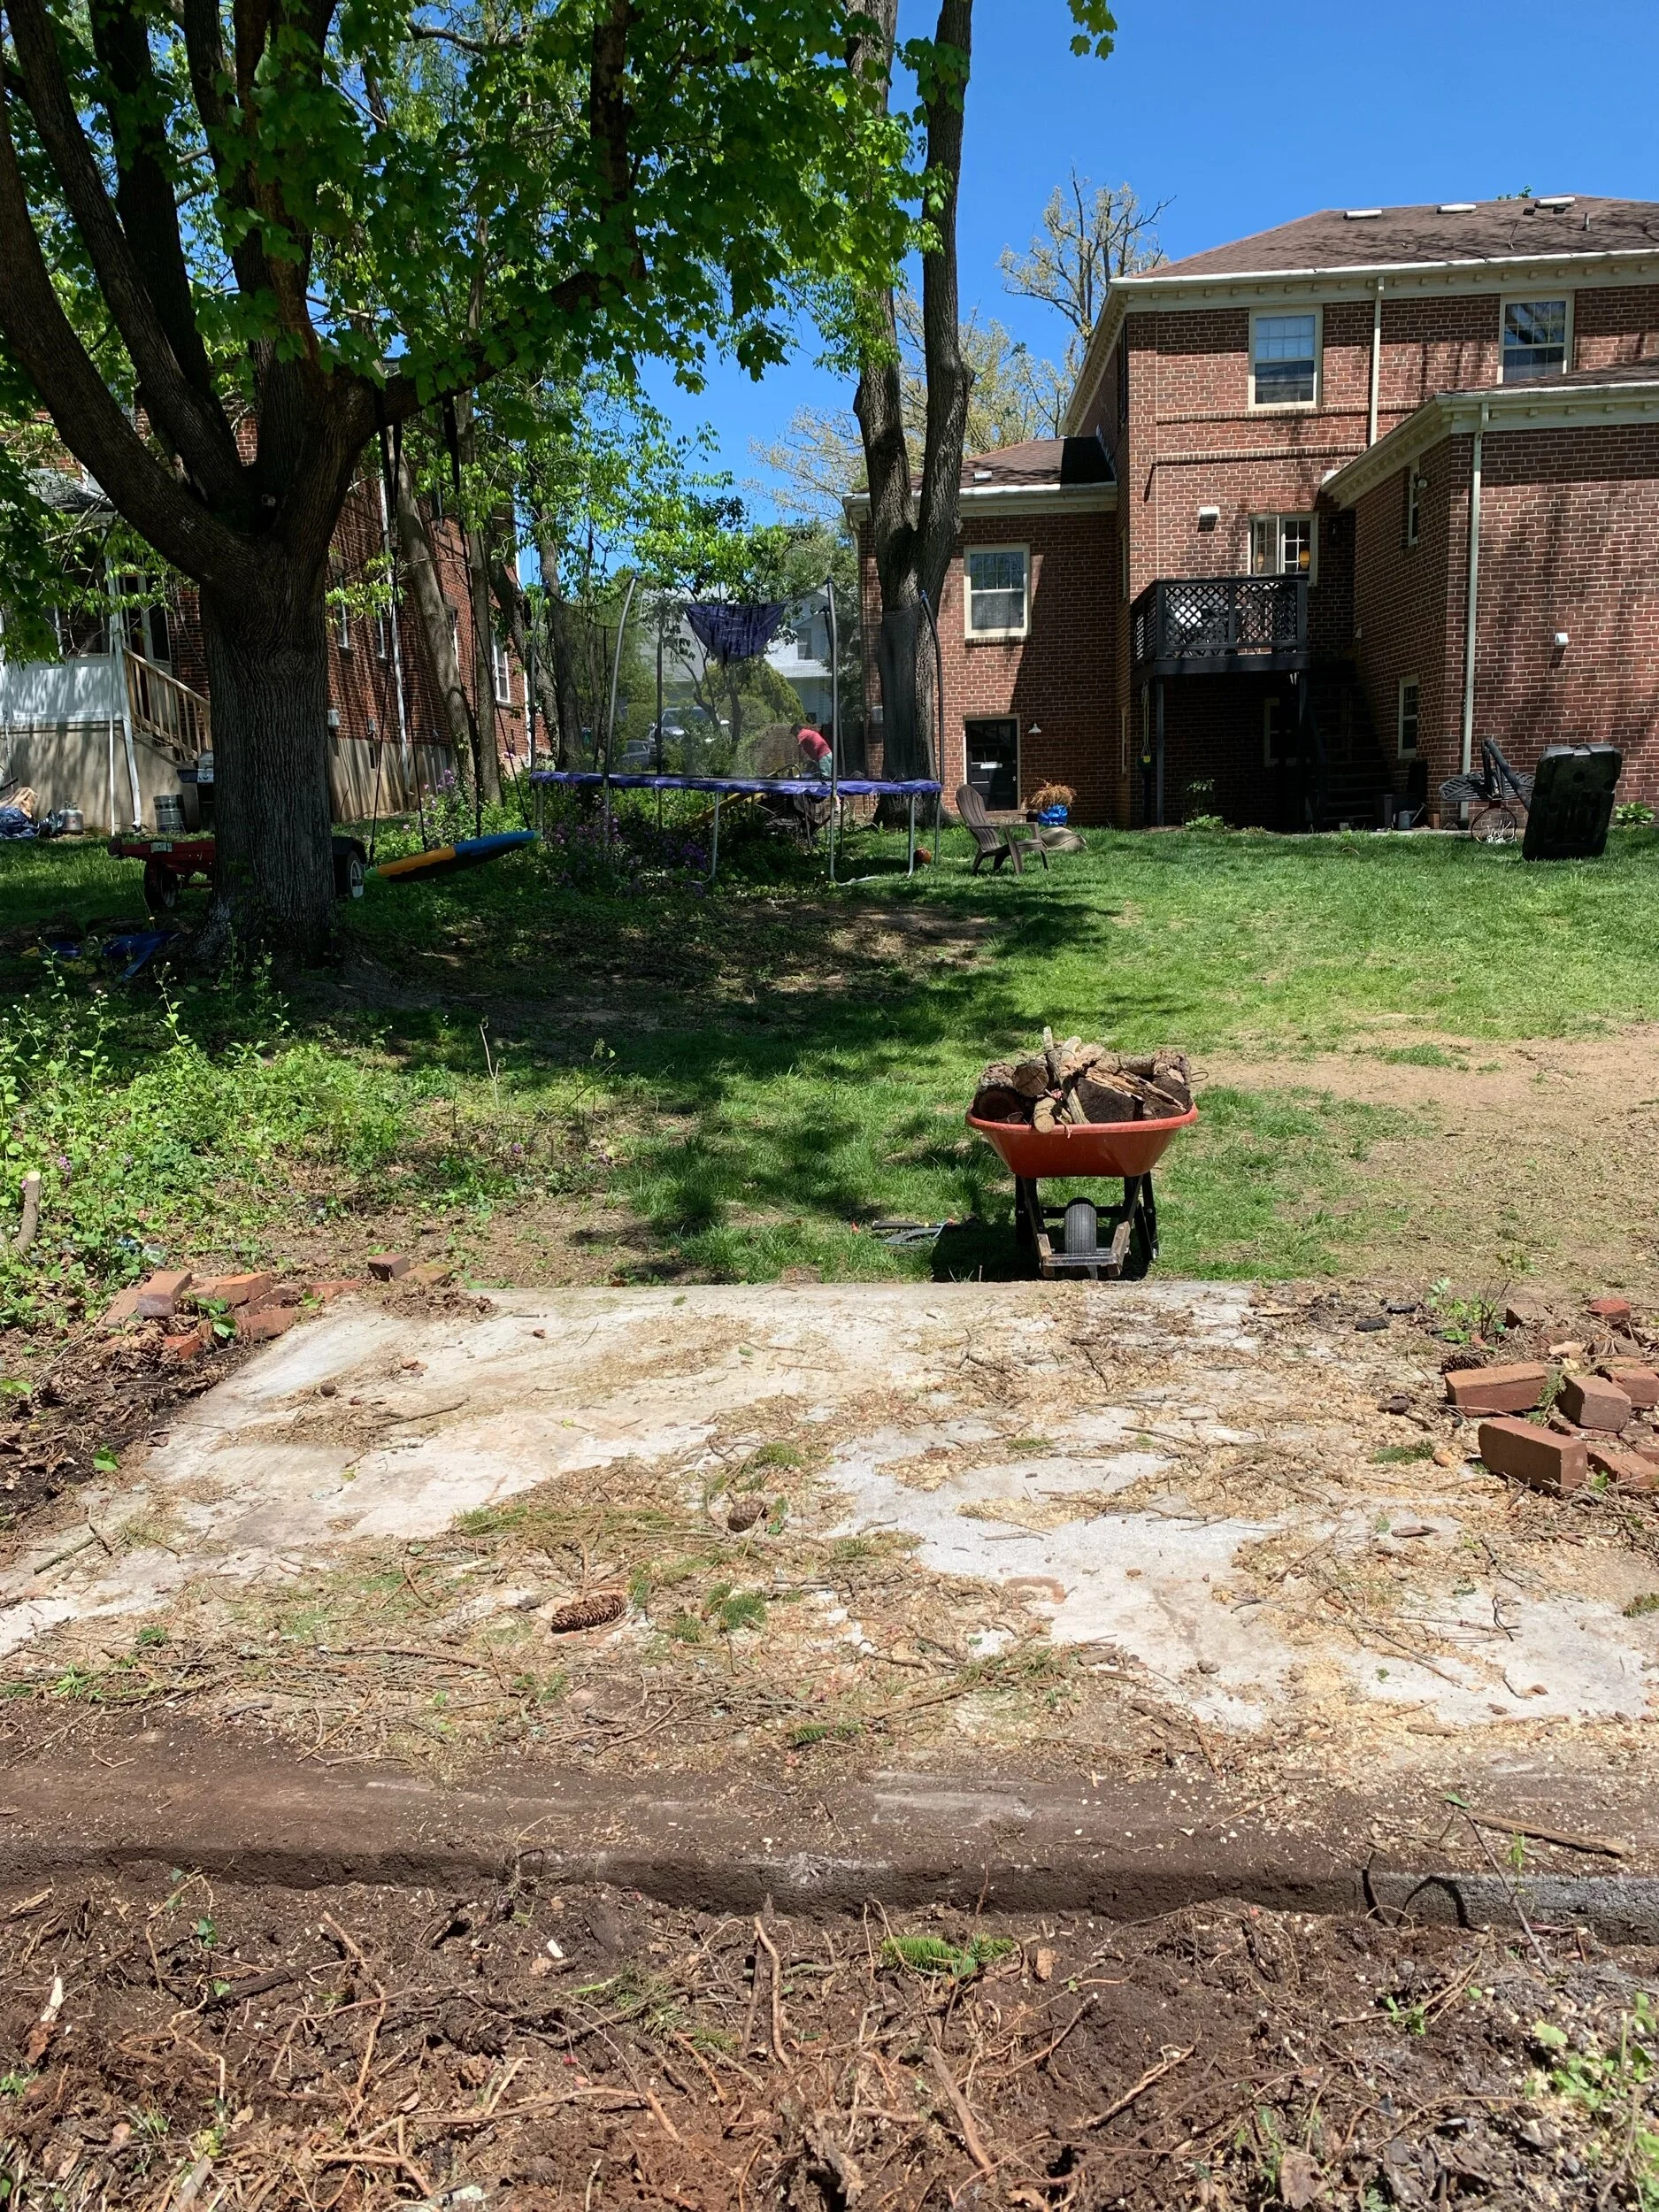
First, we took down a dilapidated shed, which left us with a pile of old bricks (score!) and a 8' x 10’ concrete slab. This is just phase one so hang with me….
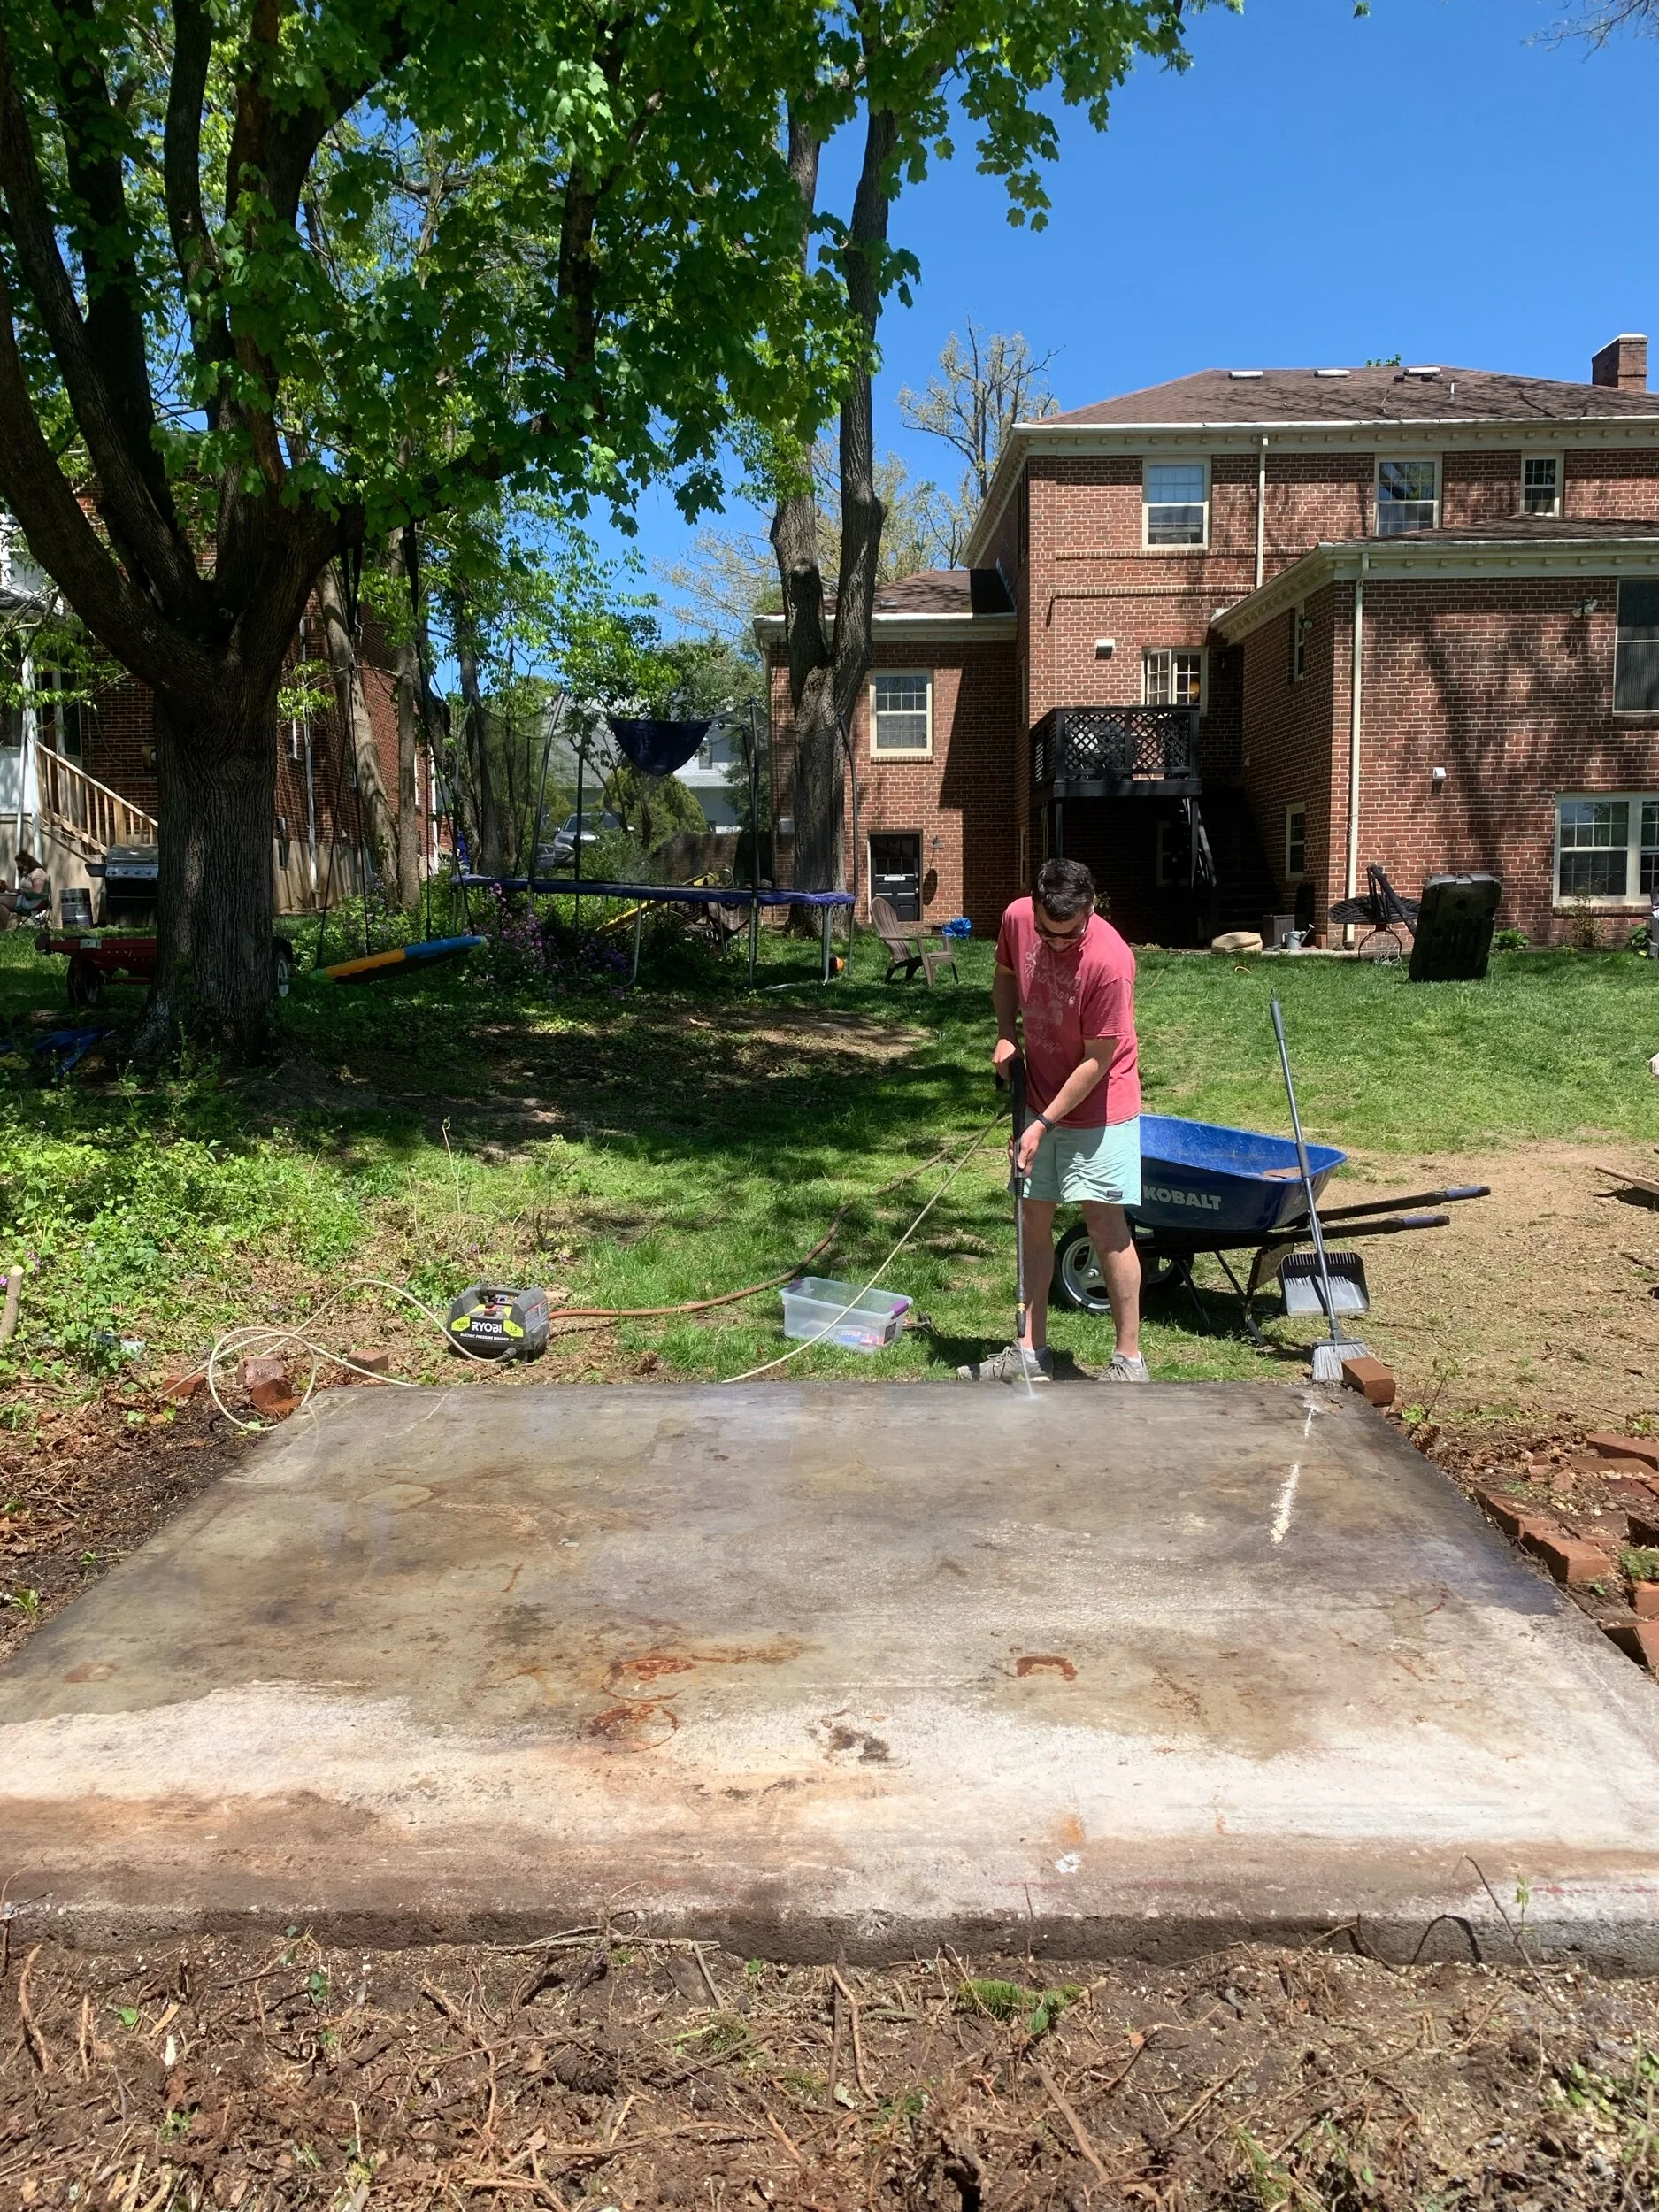
Step one. Powerwash. Philip loves this one by Ryobi.
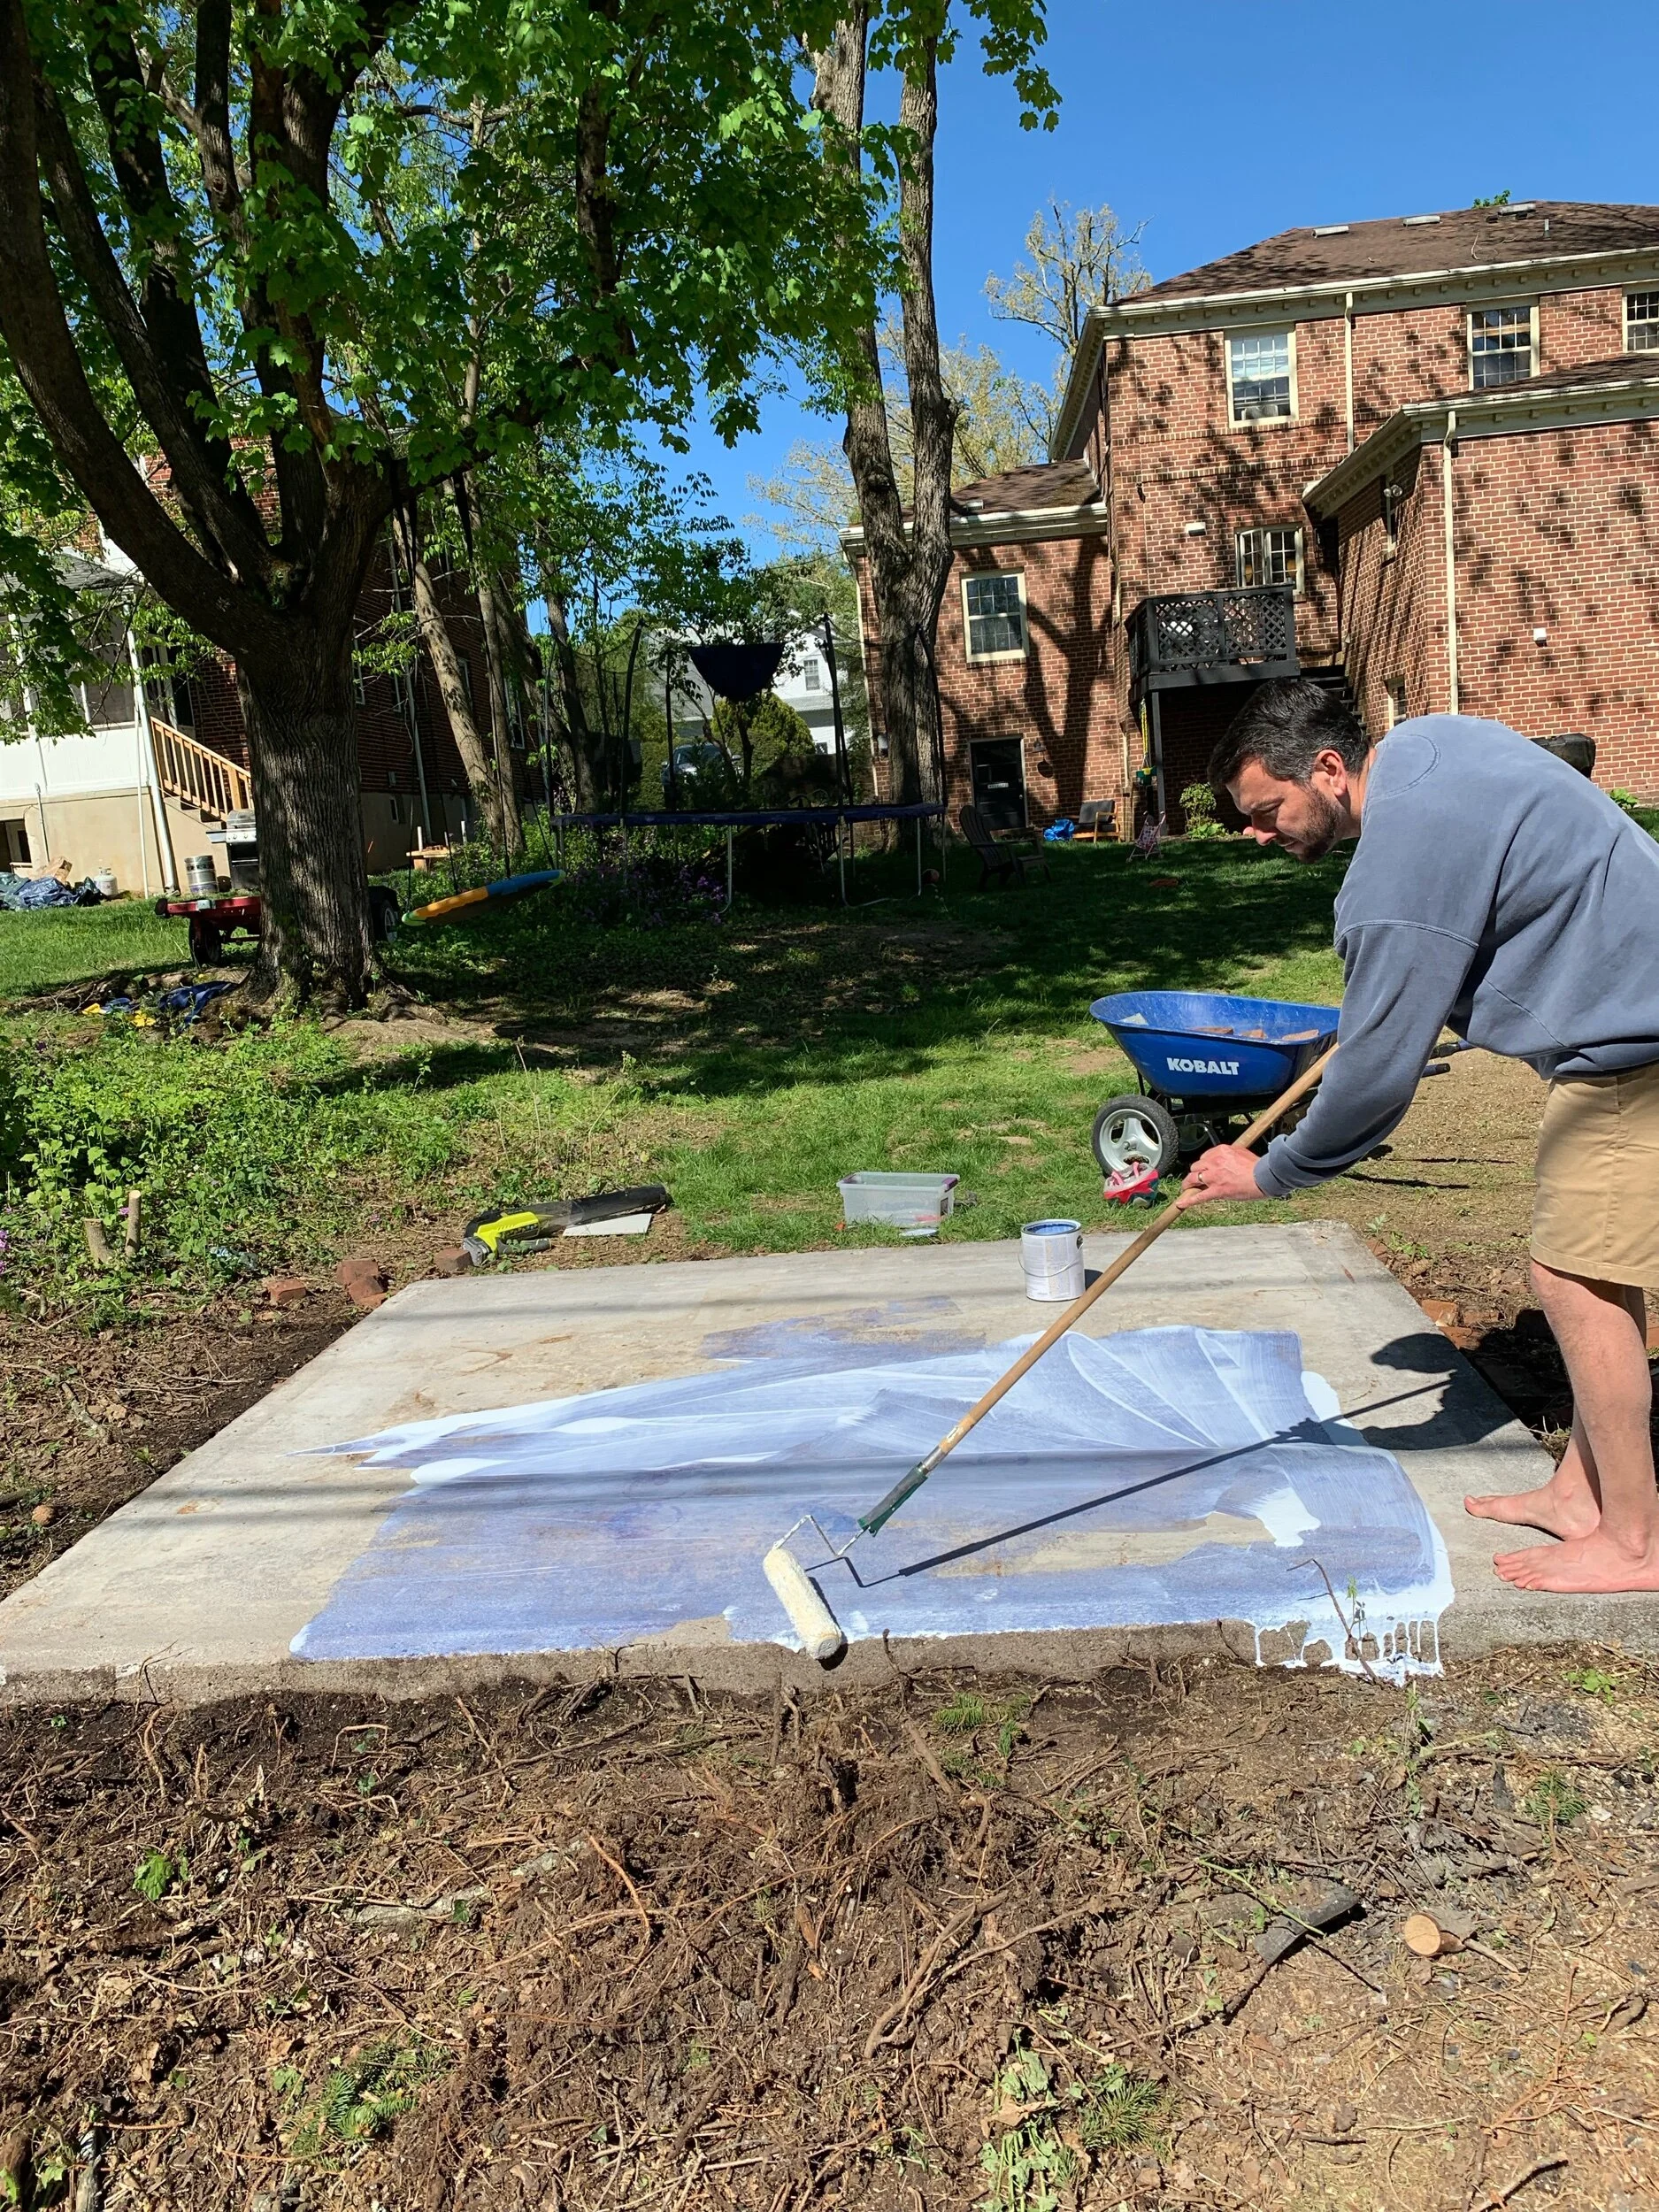
Step 2. Prime the surface after the water has dried. We used this concrete primer.
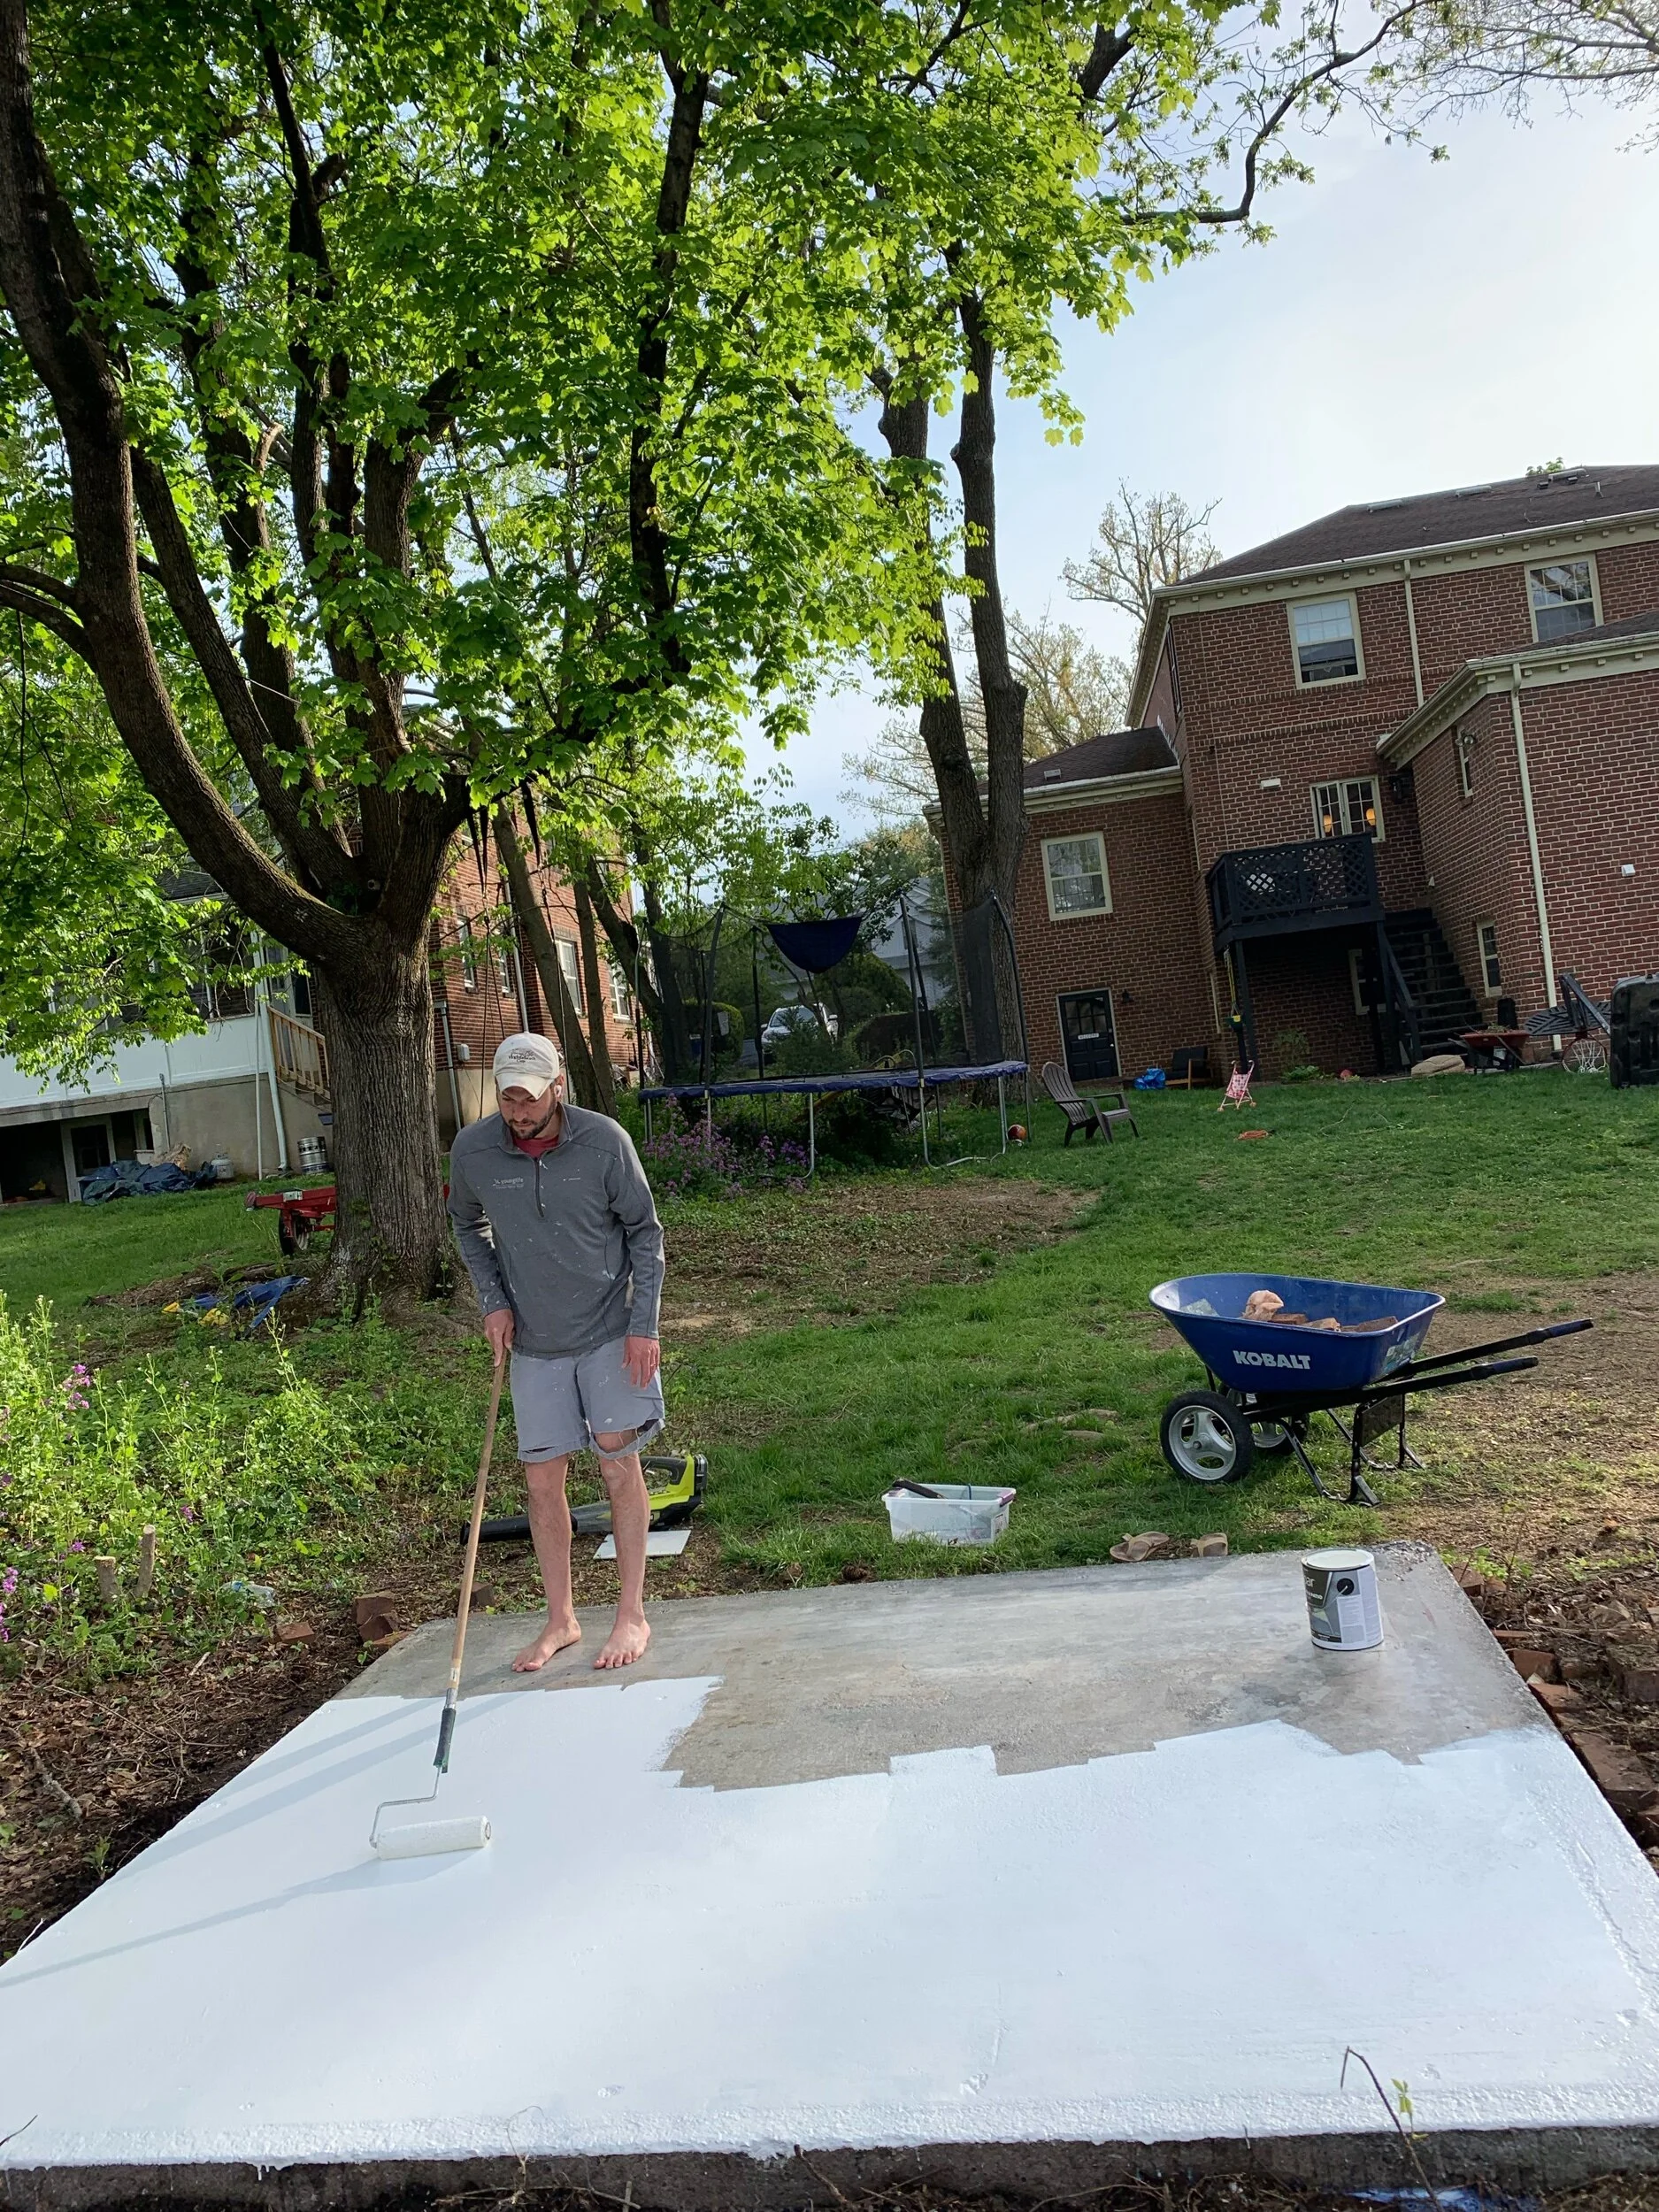
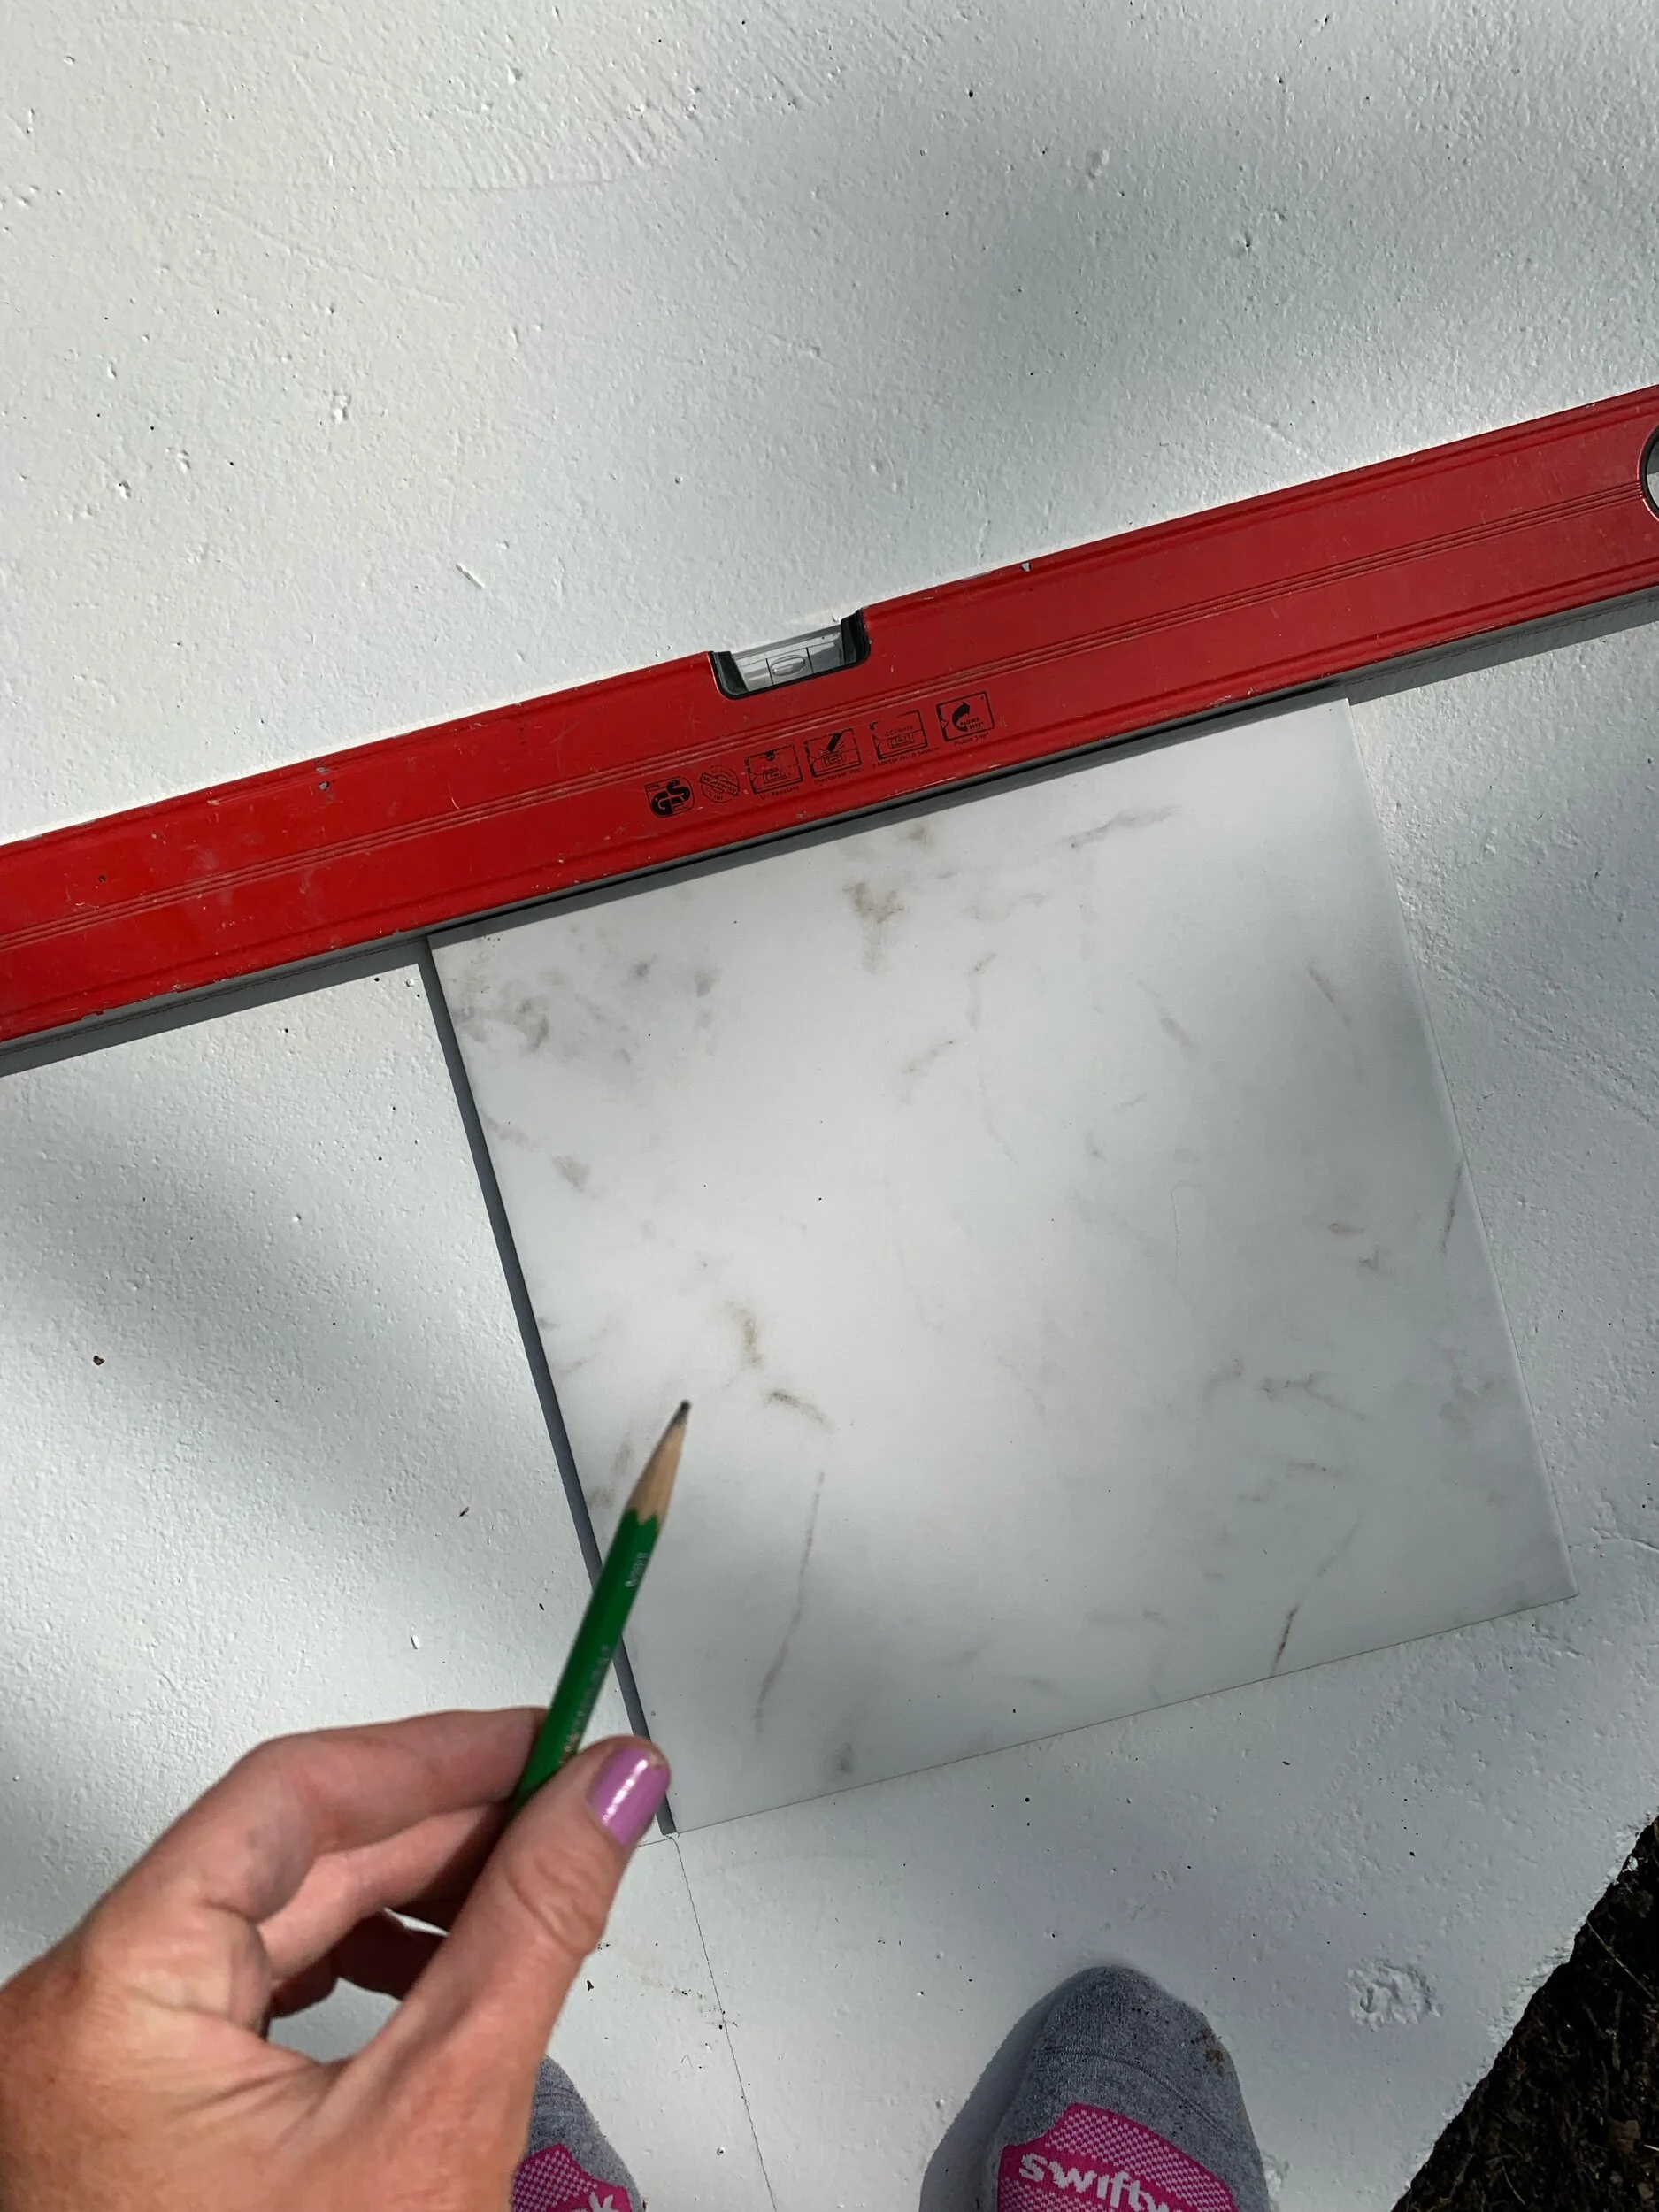
Step 3. After the primer dried, the next day we painted the surface using a roller again with Alabaster SW white. After this paint dried, I traced my desired tile pattern. I used a 12’ x 12’ tile and level to mark my lines.
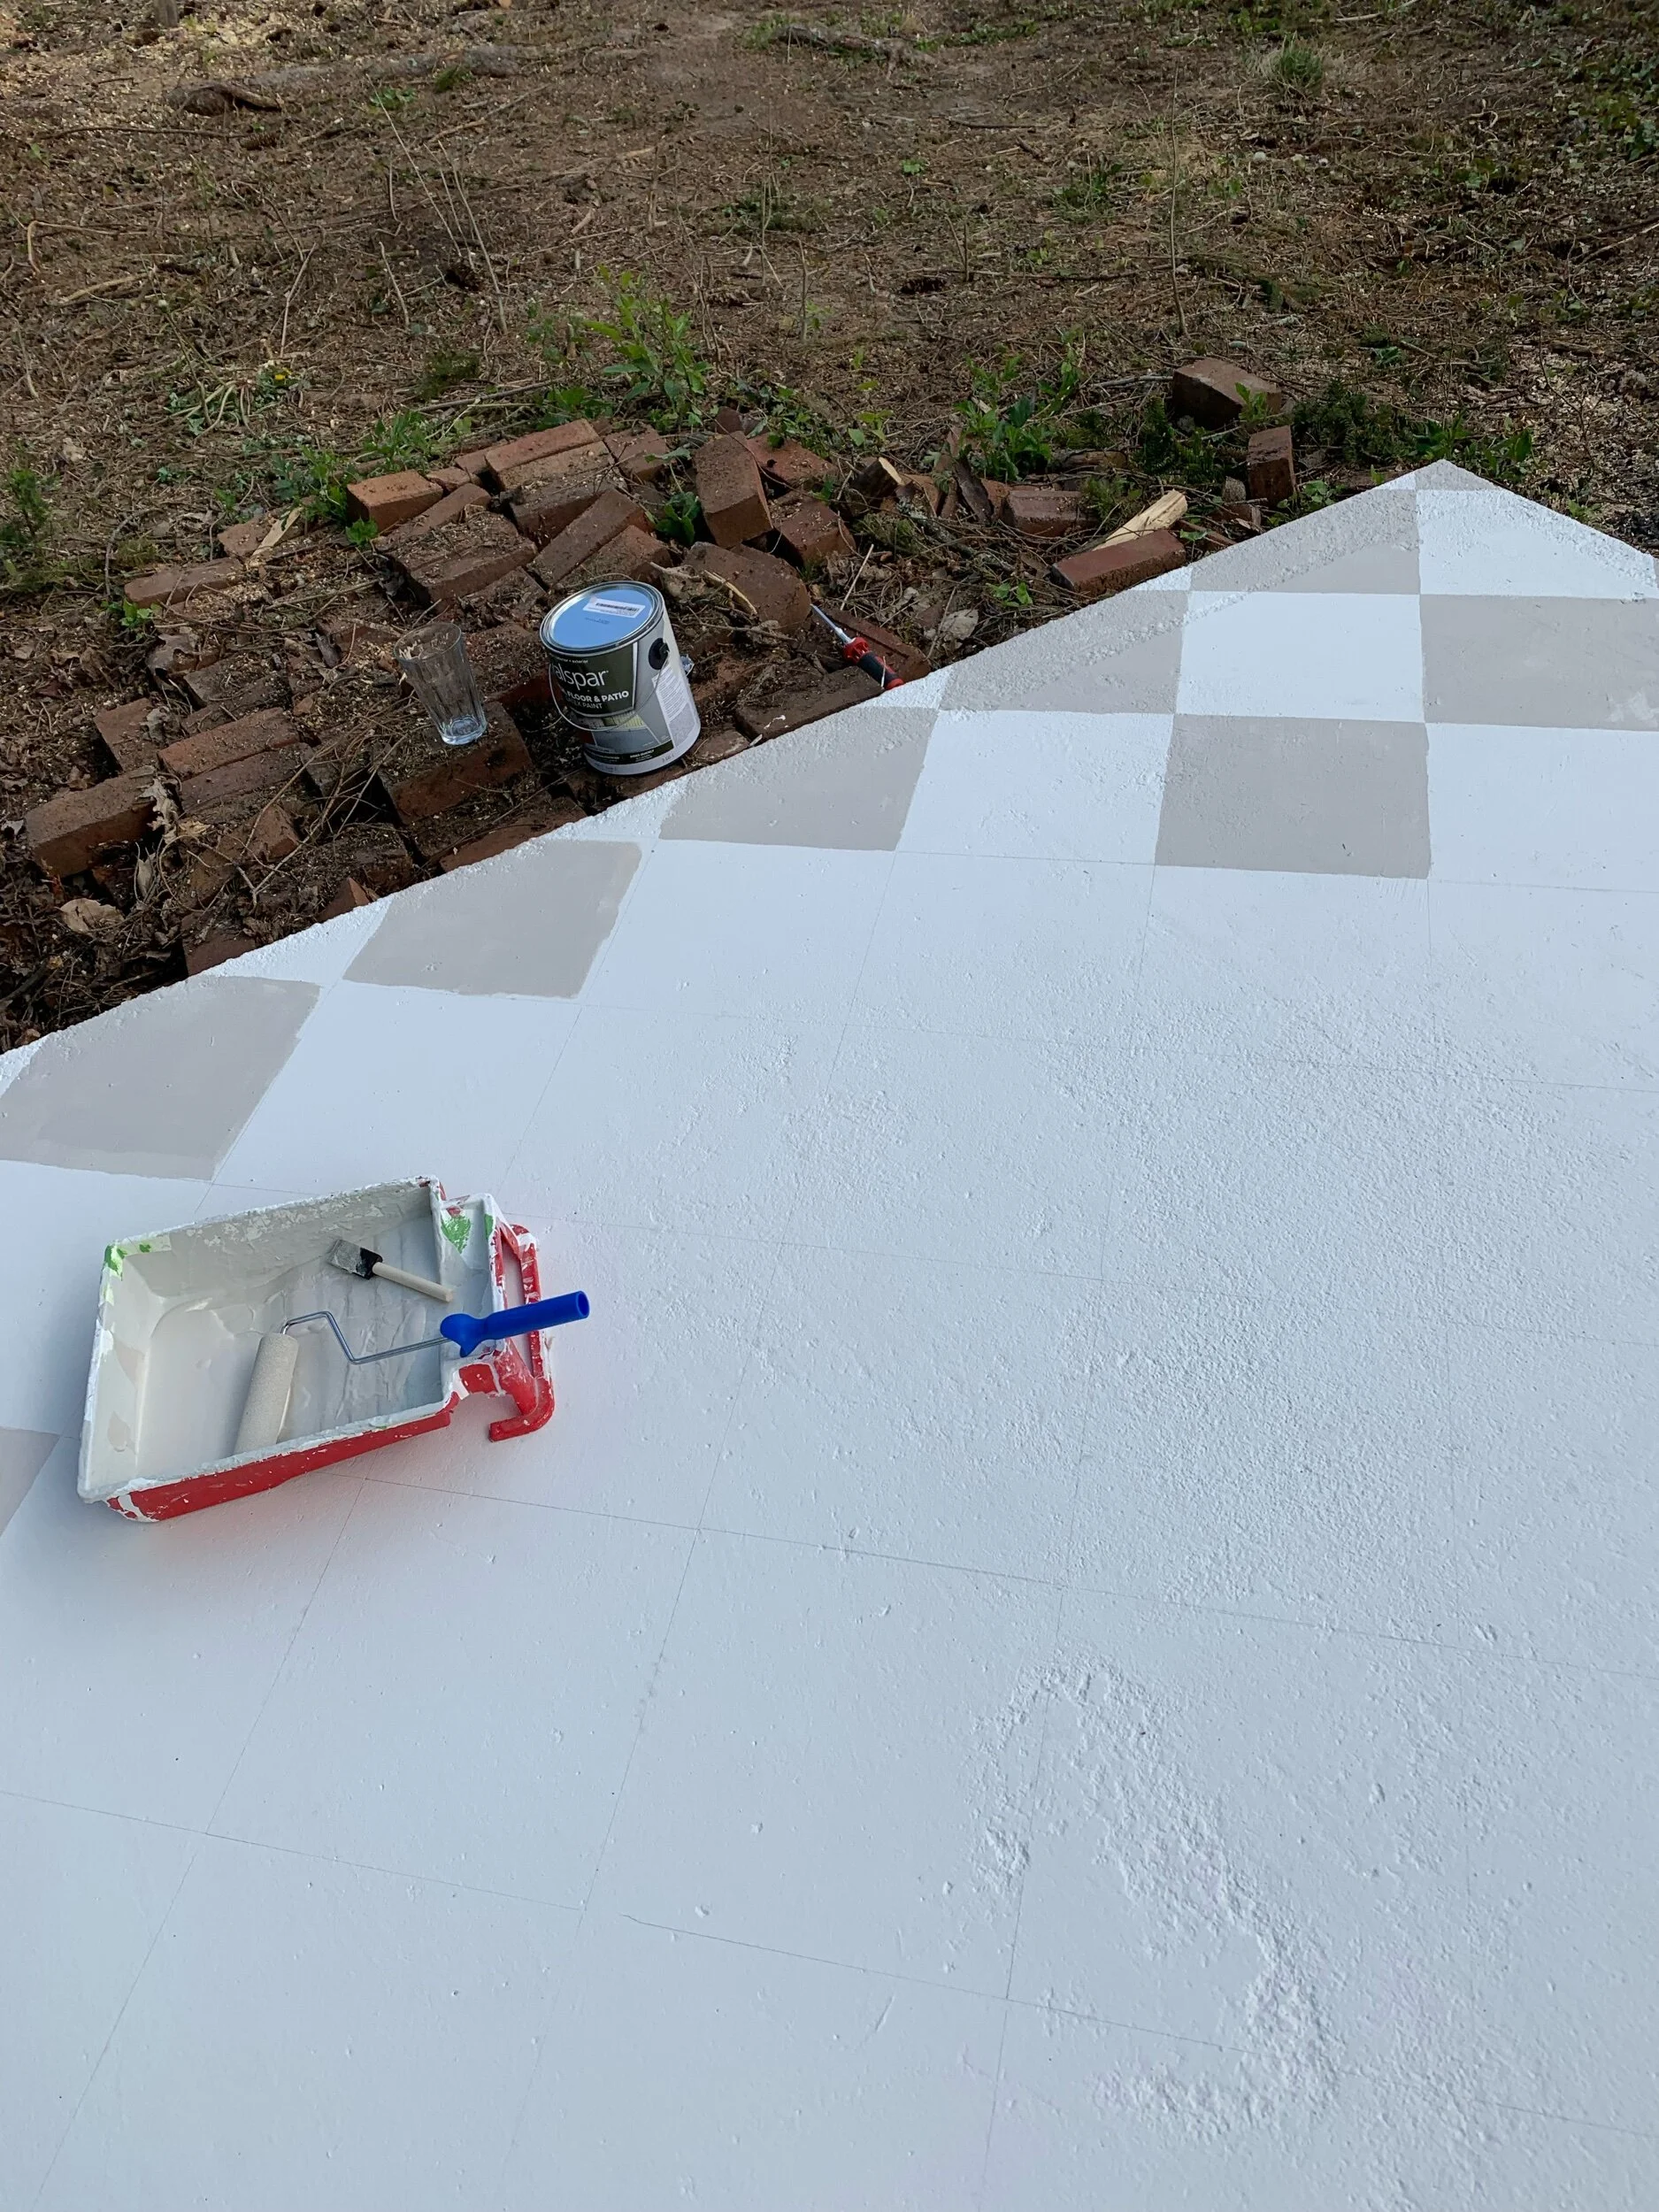
I’m not a perfectionist - soooo the pattern is a little offset. Oops. I rolled the darker color on (SW Accessible Beige) and used a small paint brush to paint the edges straight. This part was grueling and I wanted to beat the rain the next day so I did it all in about 3 hours.
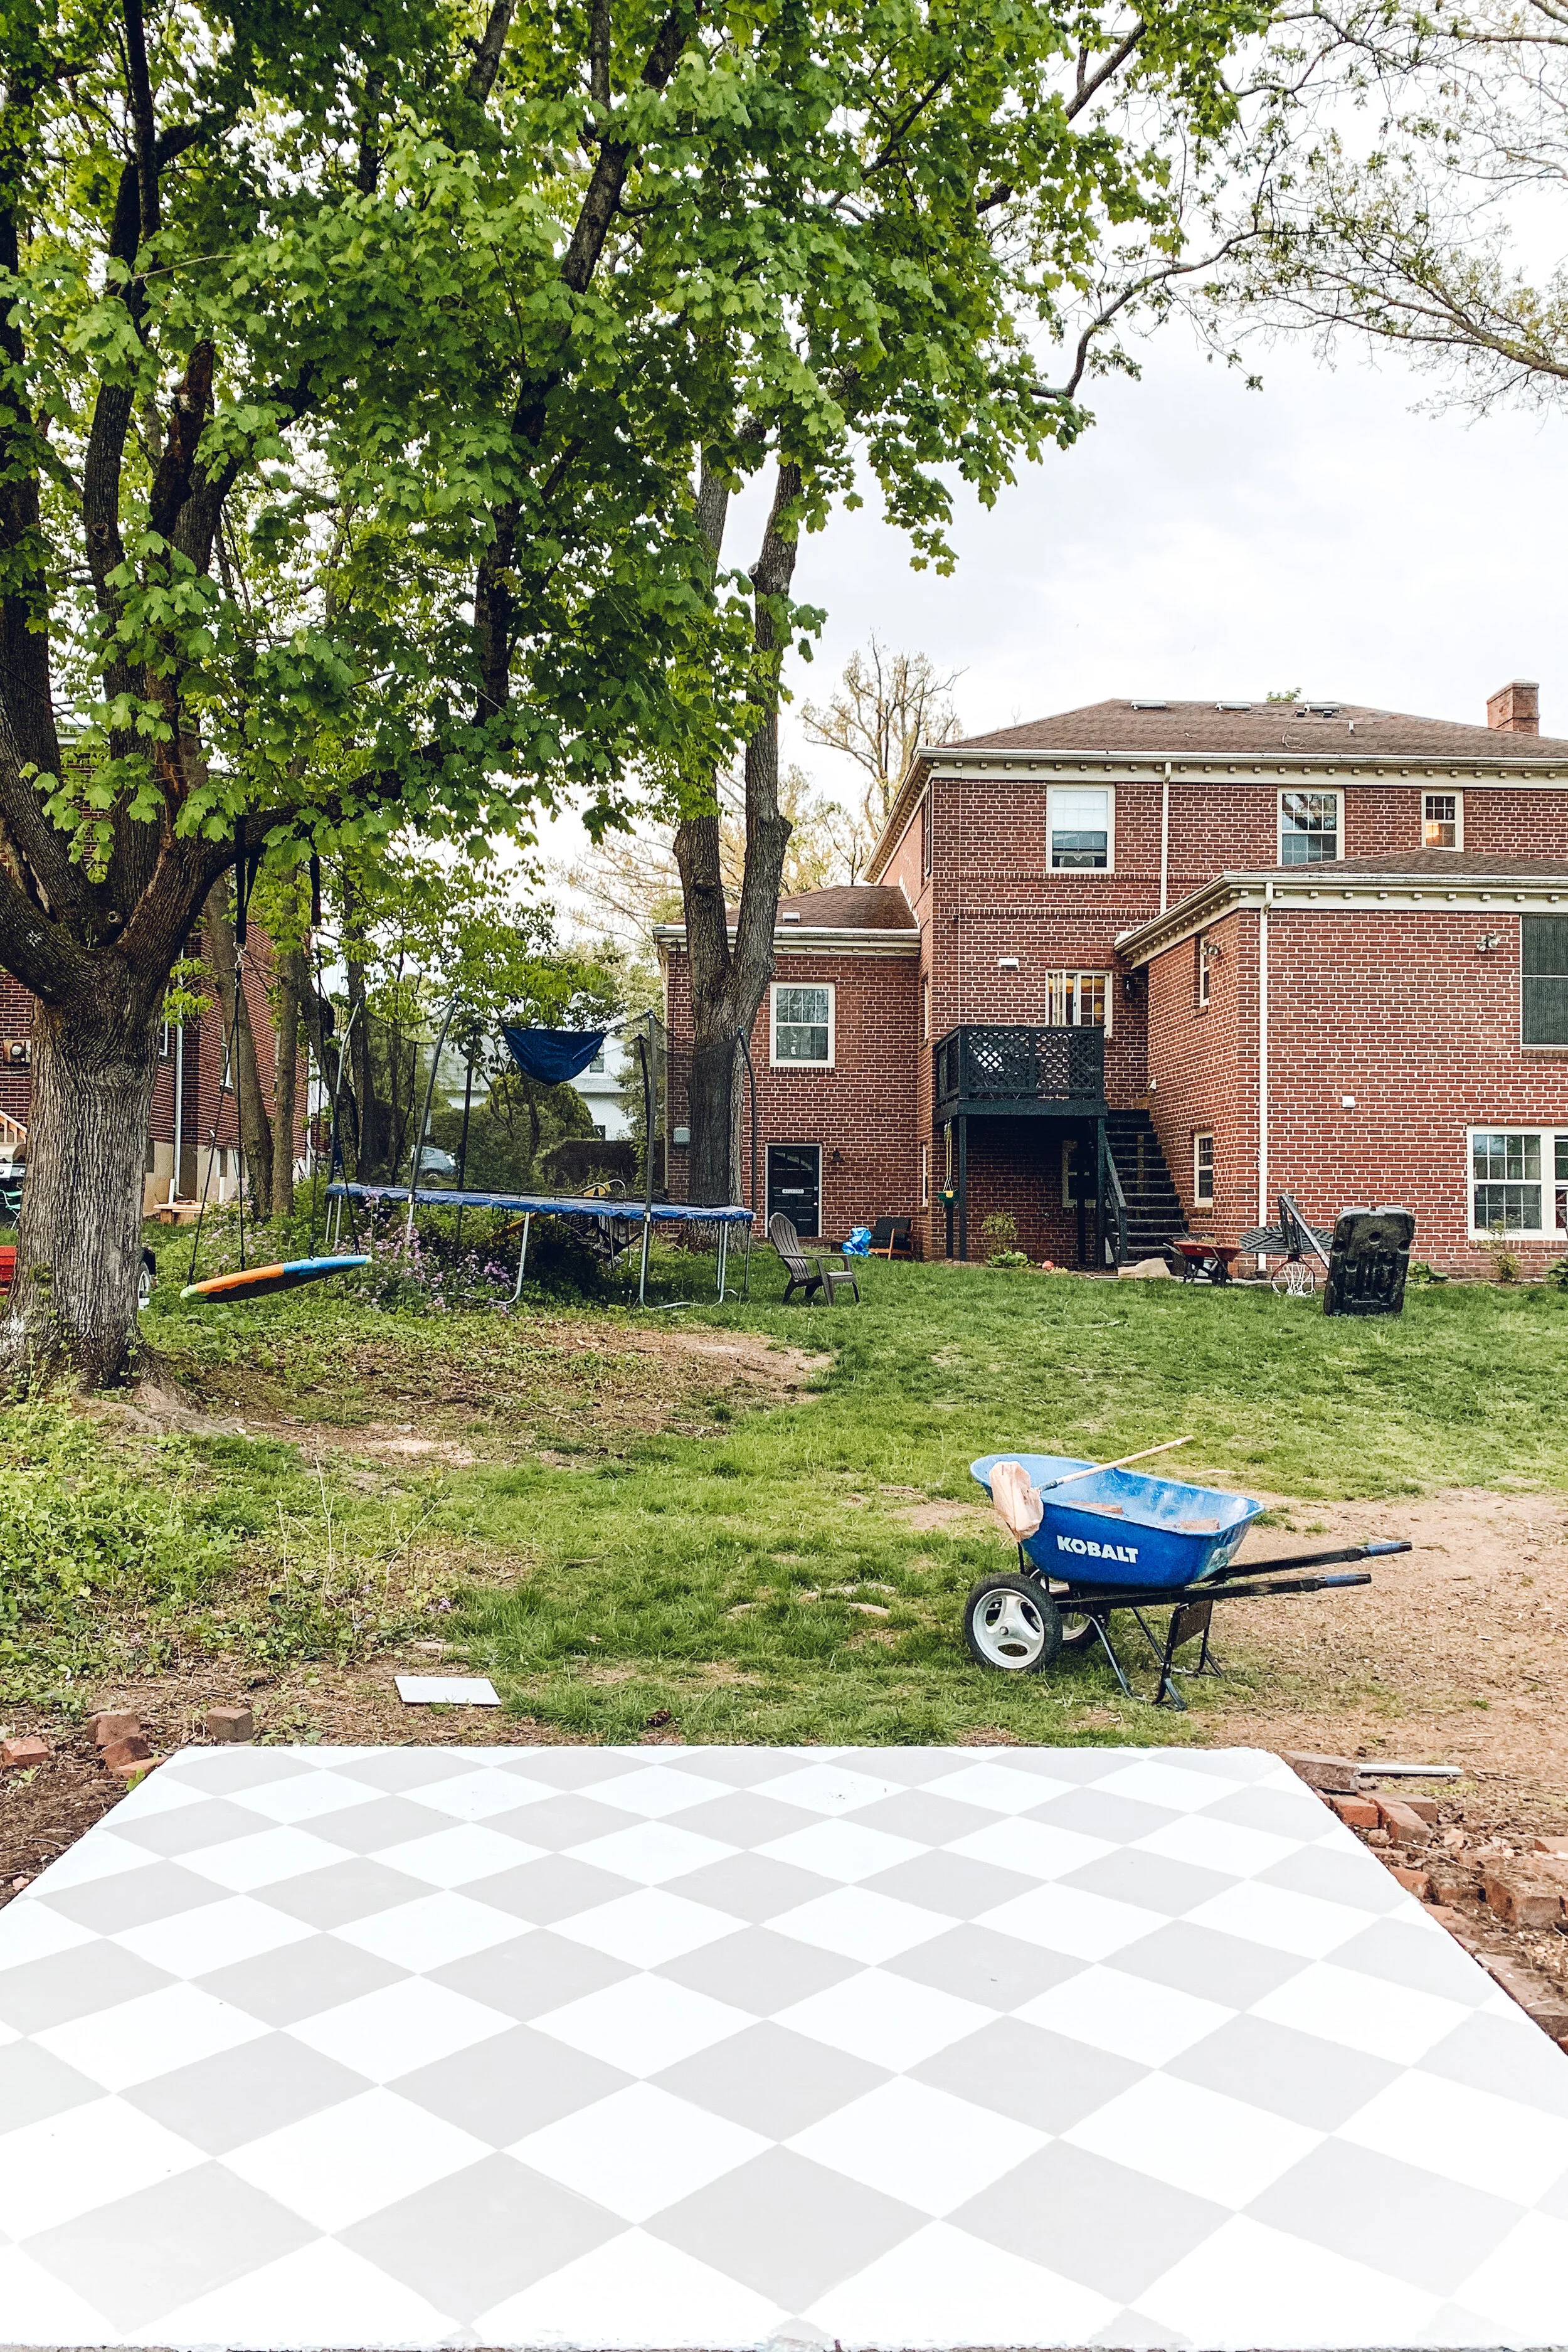
TADA! ok. This is phase one. We the patio is not quite big enough so we are going to surround it with the spare brick. Stay tuned.
Don’t look too closely at the yard. It’s in progress…
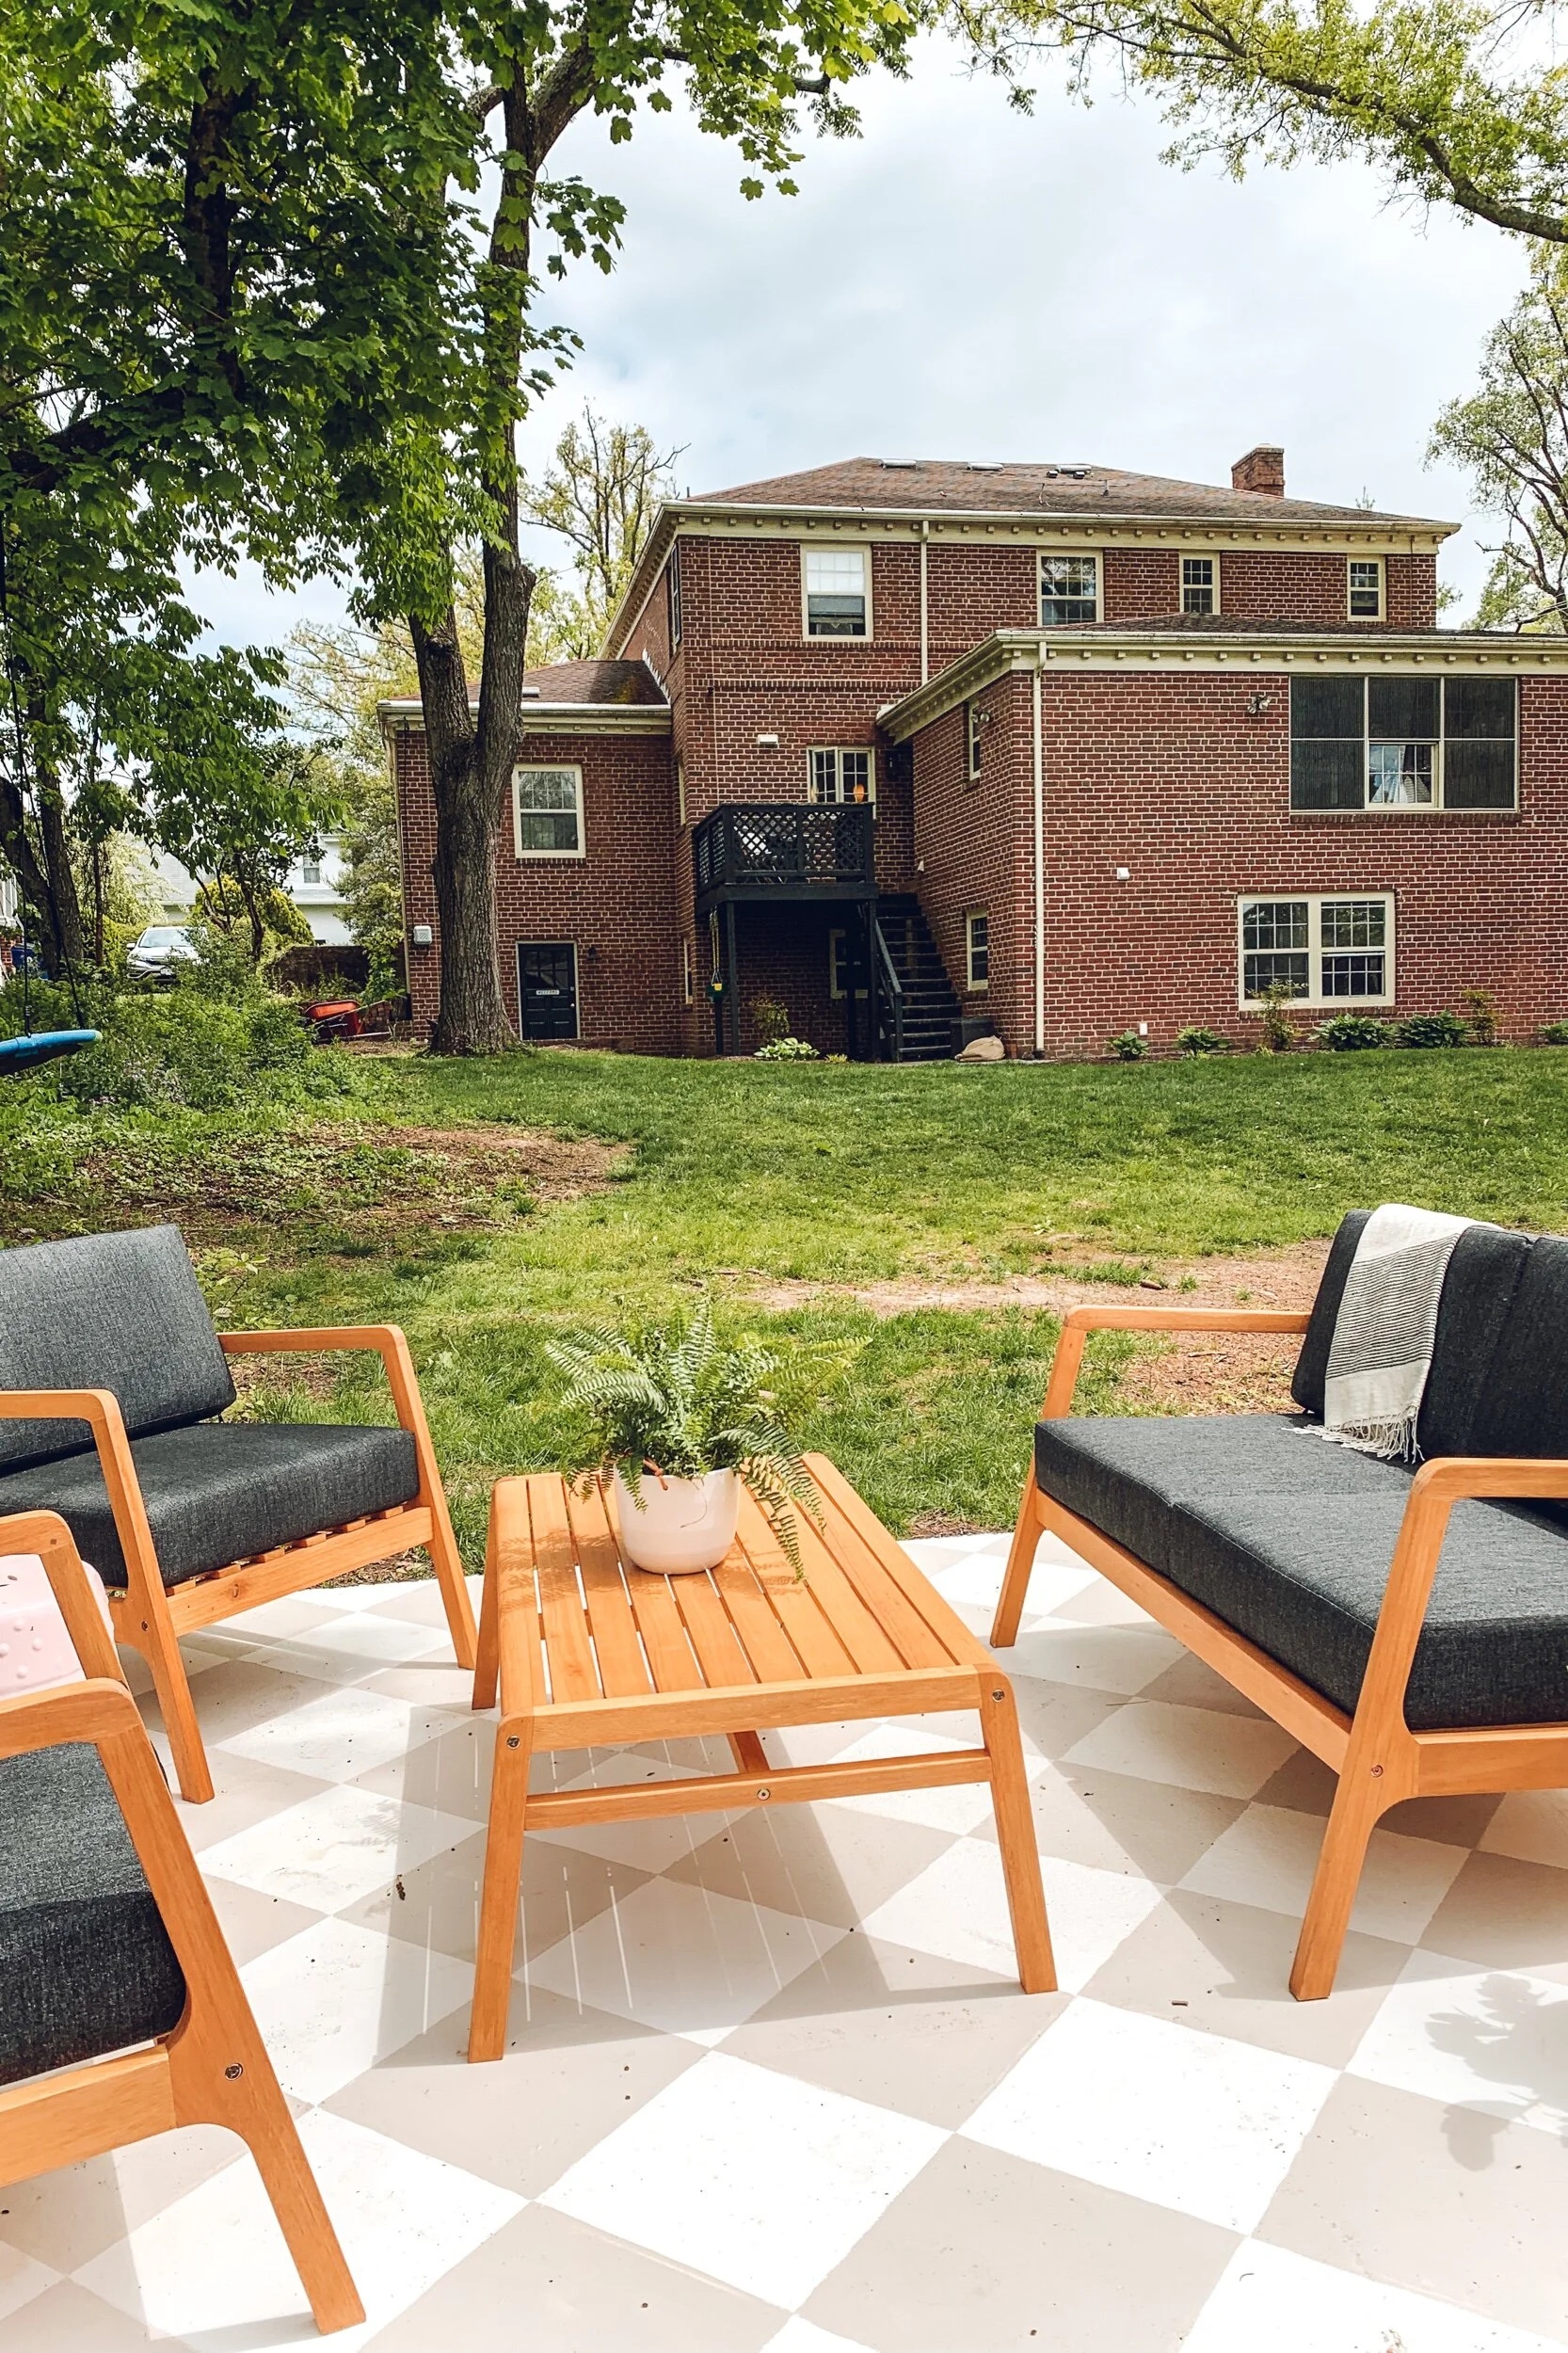
The outdoor furniture set is by RST Brands and is so nice and comfy, but small enough to fit on our tiny patio. They kindly gifted it to me and we genuinely love it. The wood is FSC certified eucalyptus wood, the cushions are covered in water-repellent and fade-resistant olefin fabric and its designed for use in both hot and cold climates so we can’t wait to use this year round!
If I missed a step in the patio DIY, please let me know!


