
Peel & Stick Tile DIY
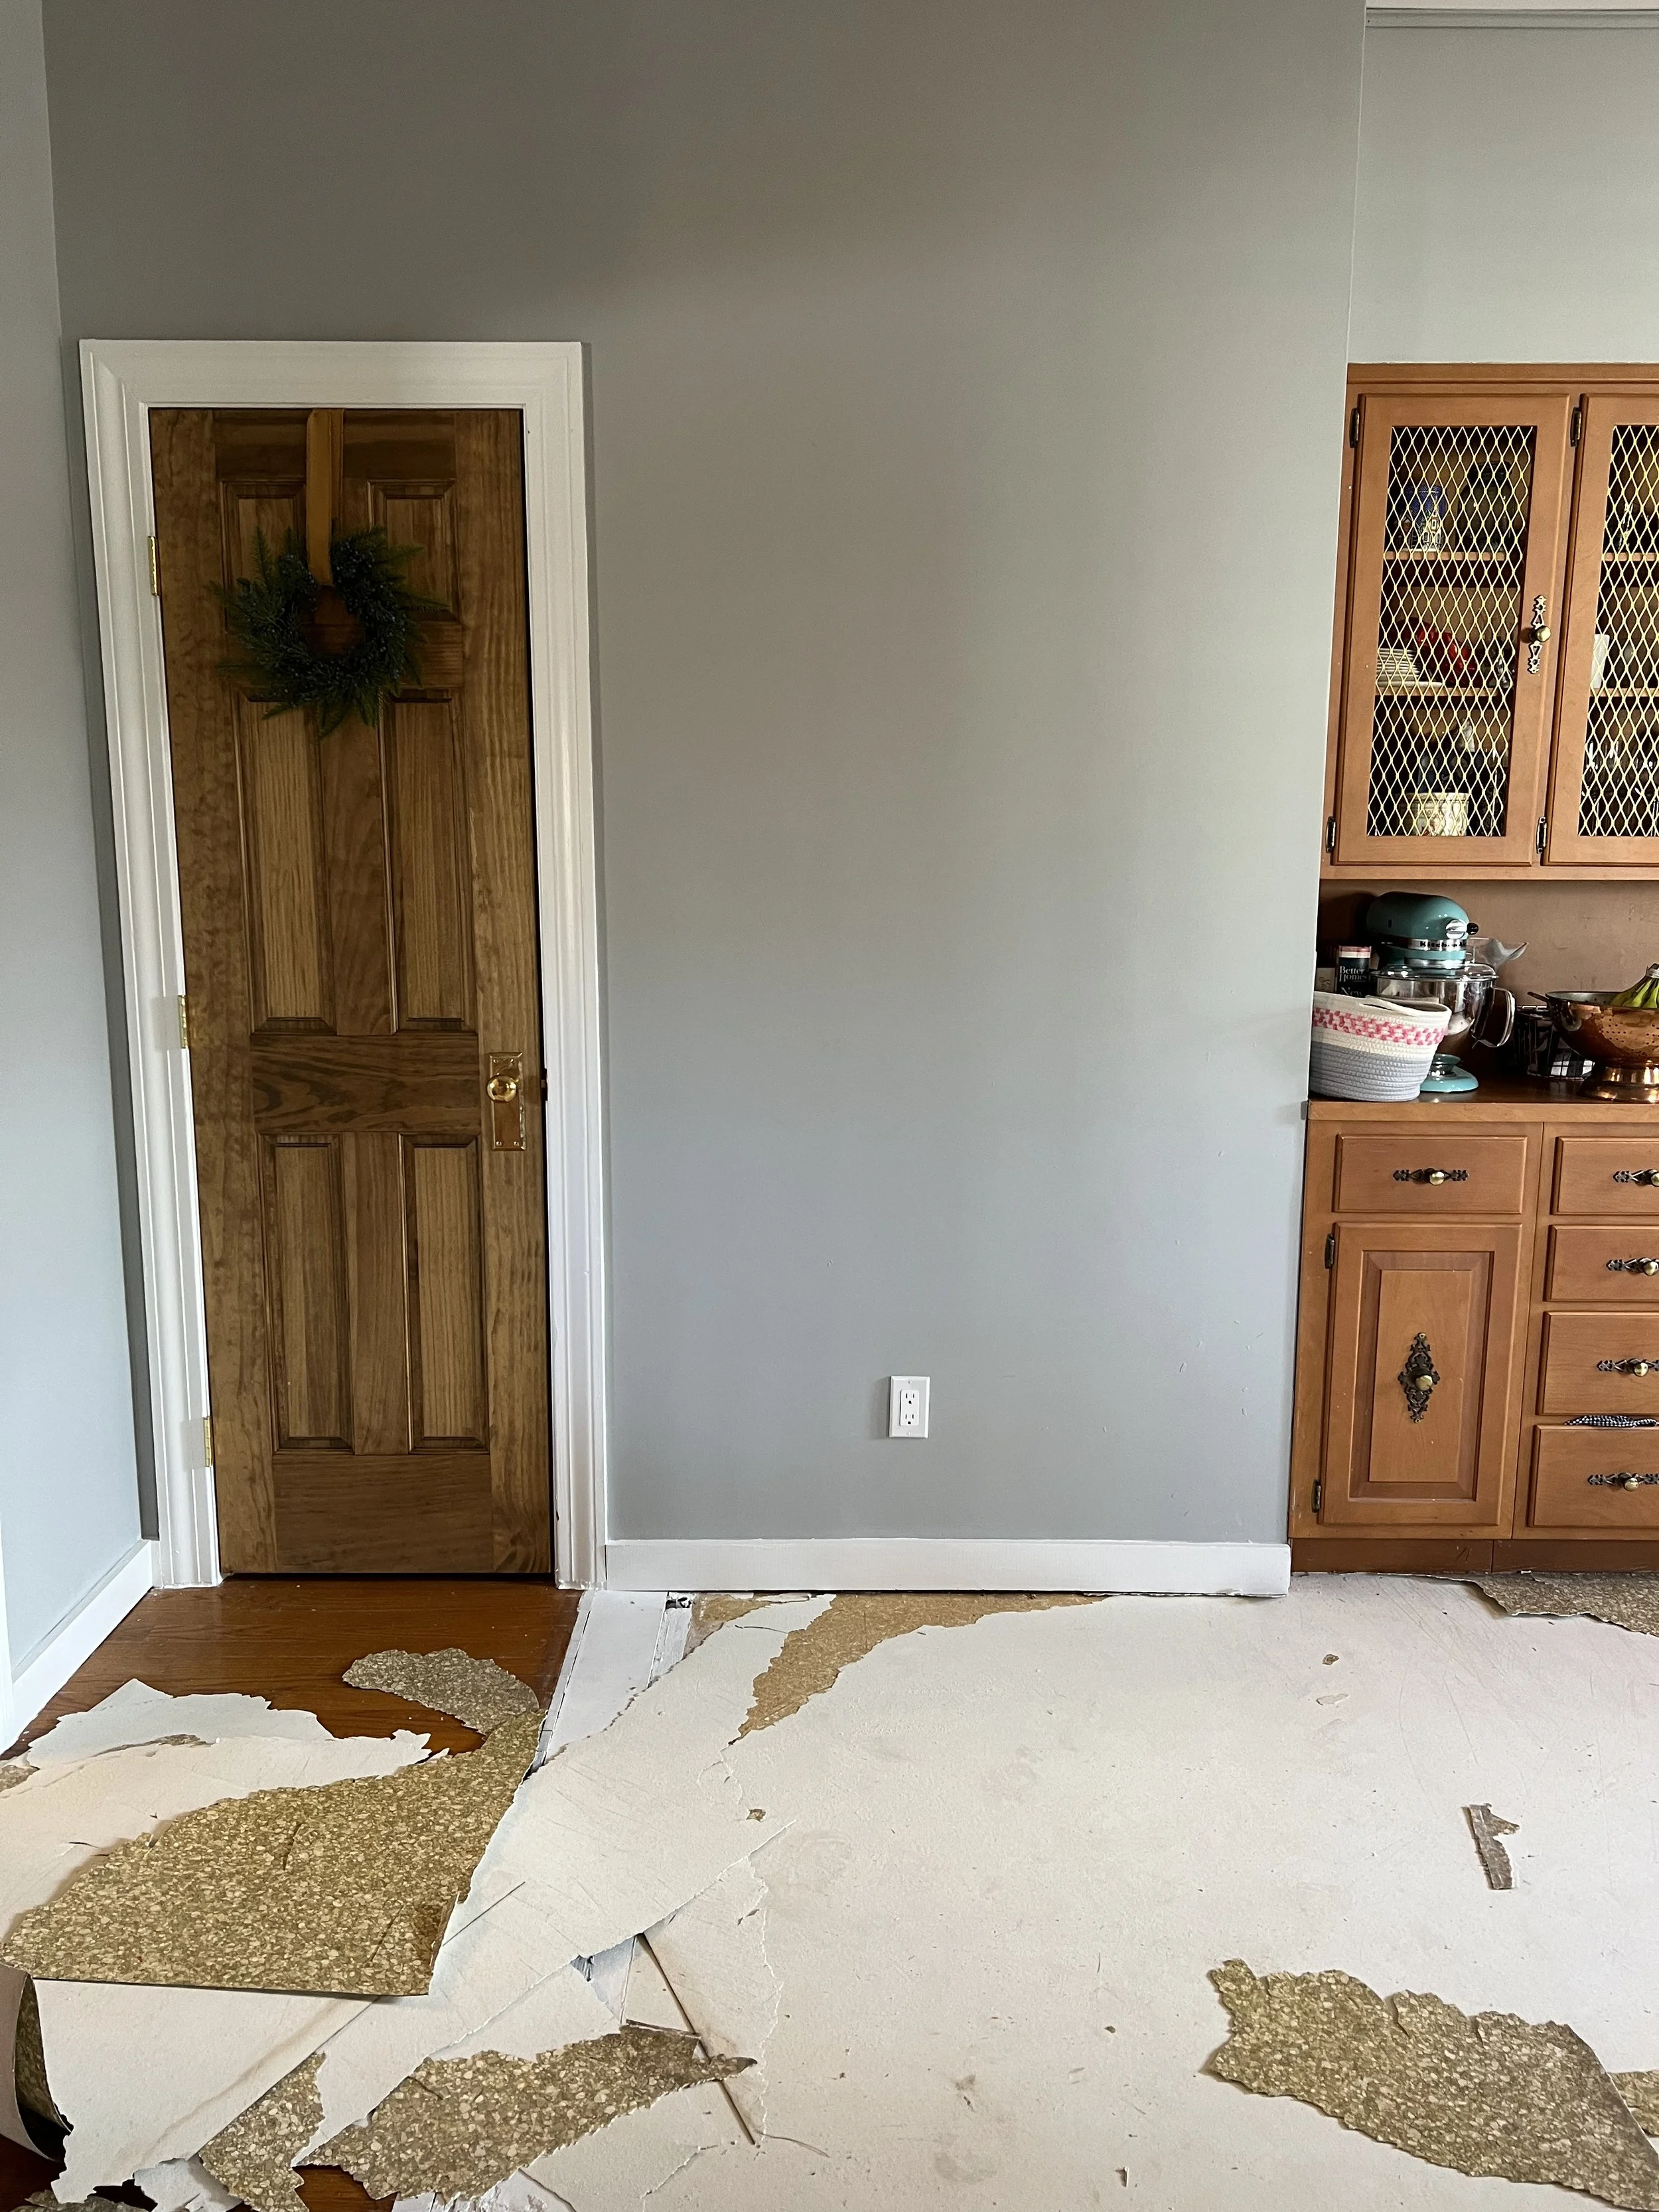
/We have been living in our 1960s kitchen for the last three years are slowly transforming into a space we love. Until we do a total gut job, we decided to use Wallpops peel and stick tiles on our floors. We have used them in several places in our home and have been happy with how these peel and stick tiles have held up.
We chose to take up our original flooring, but if you have a perfectly flat floor could likely lay the floors on top of them.
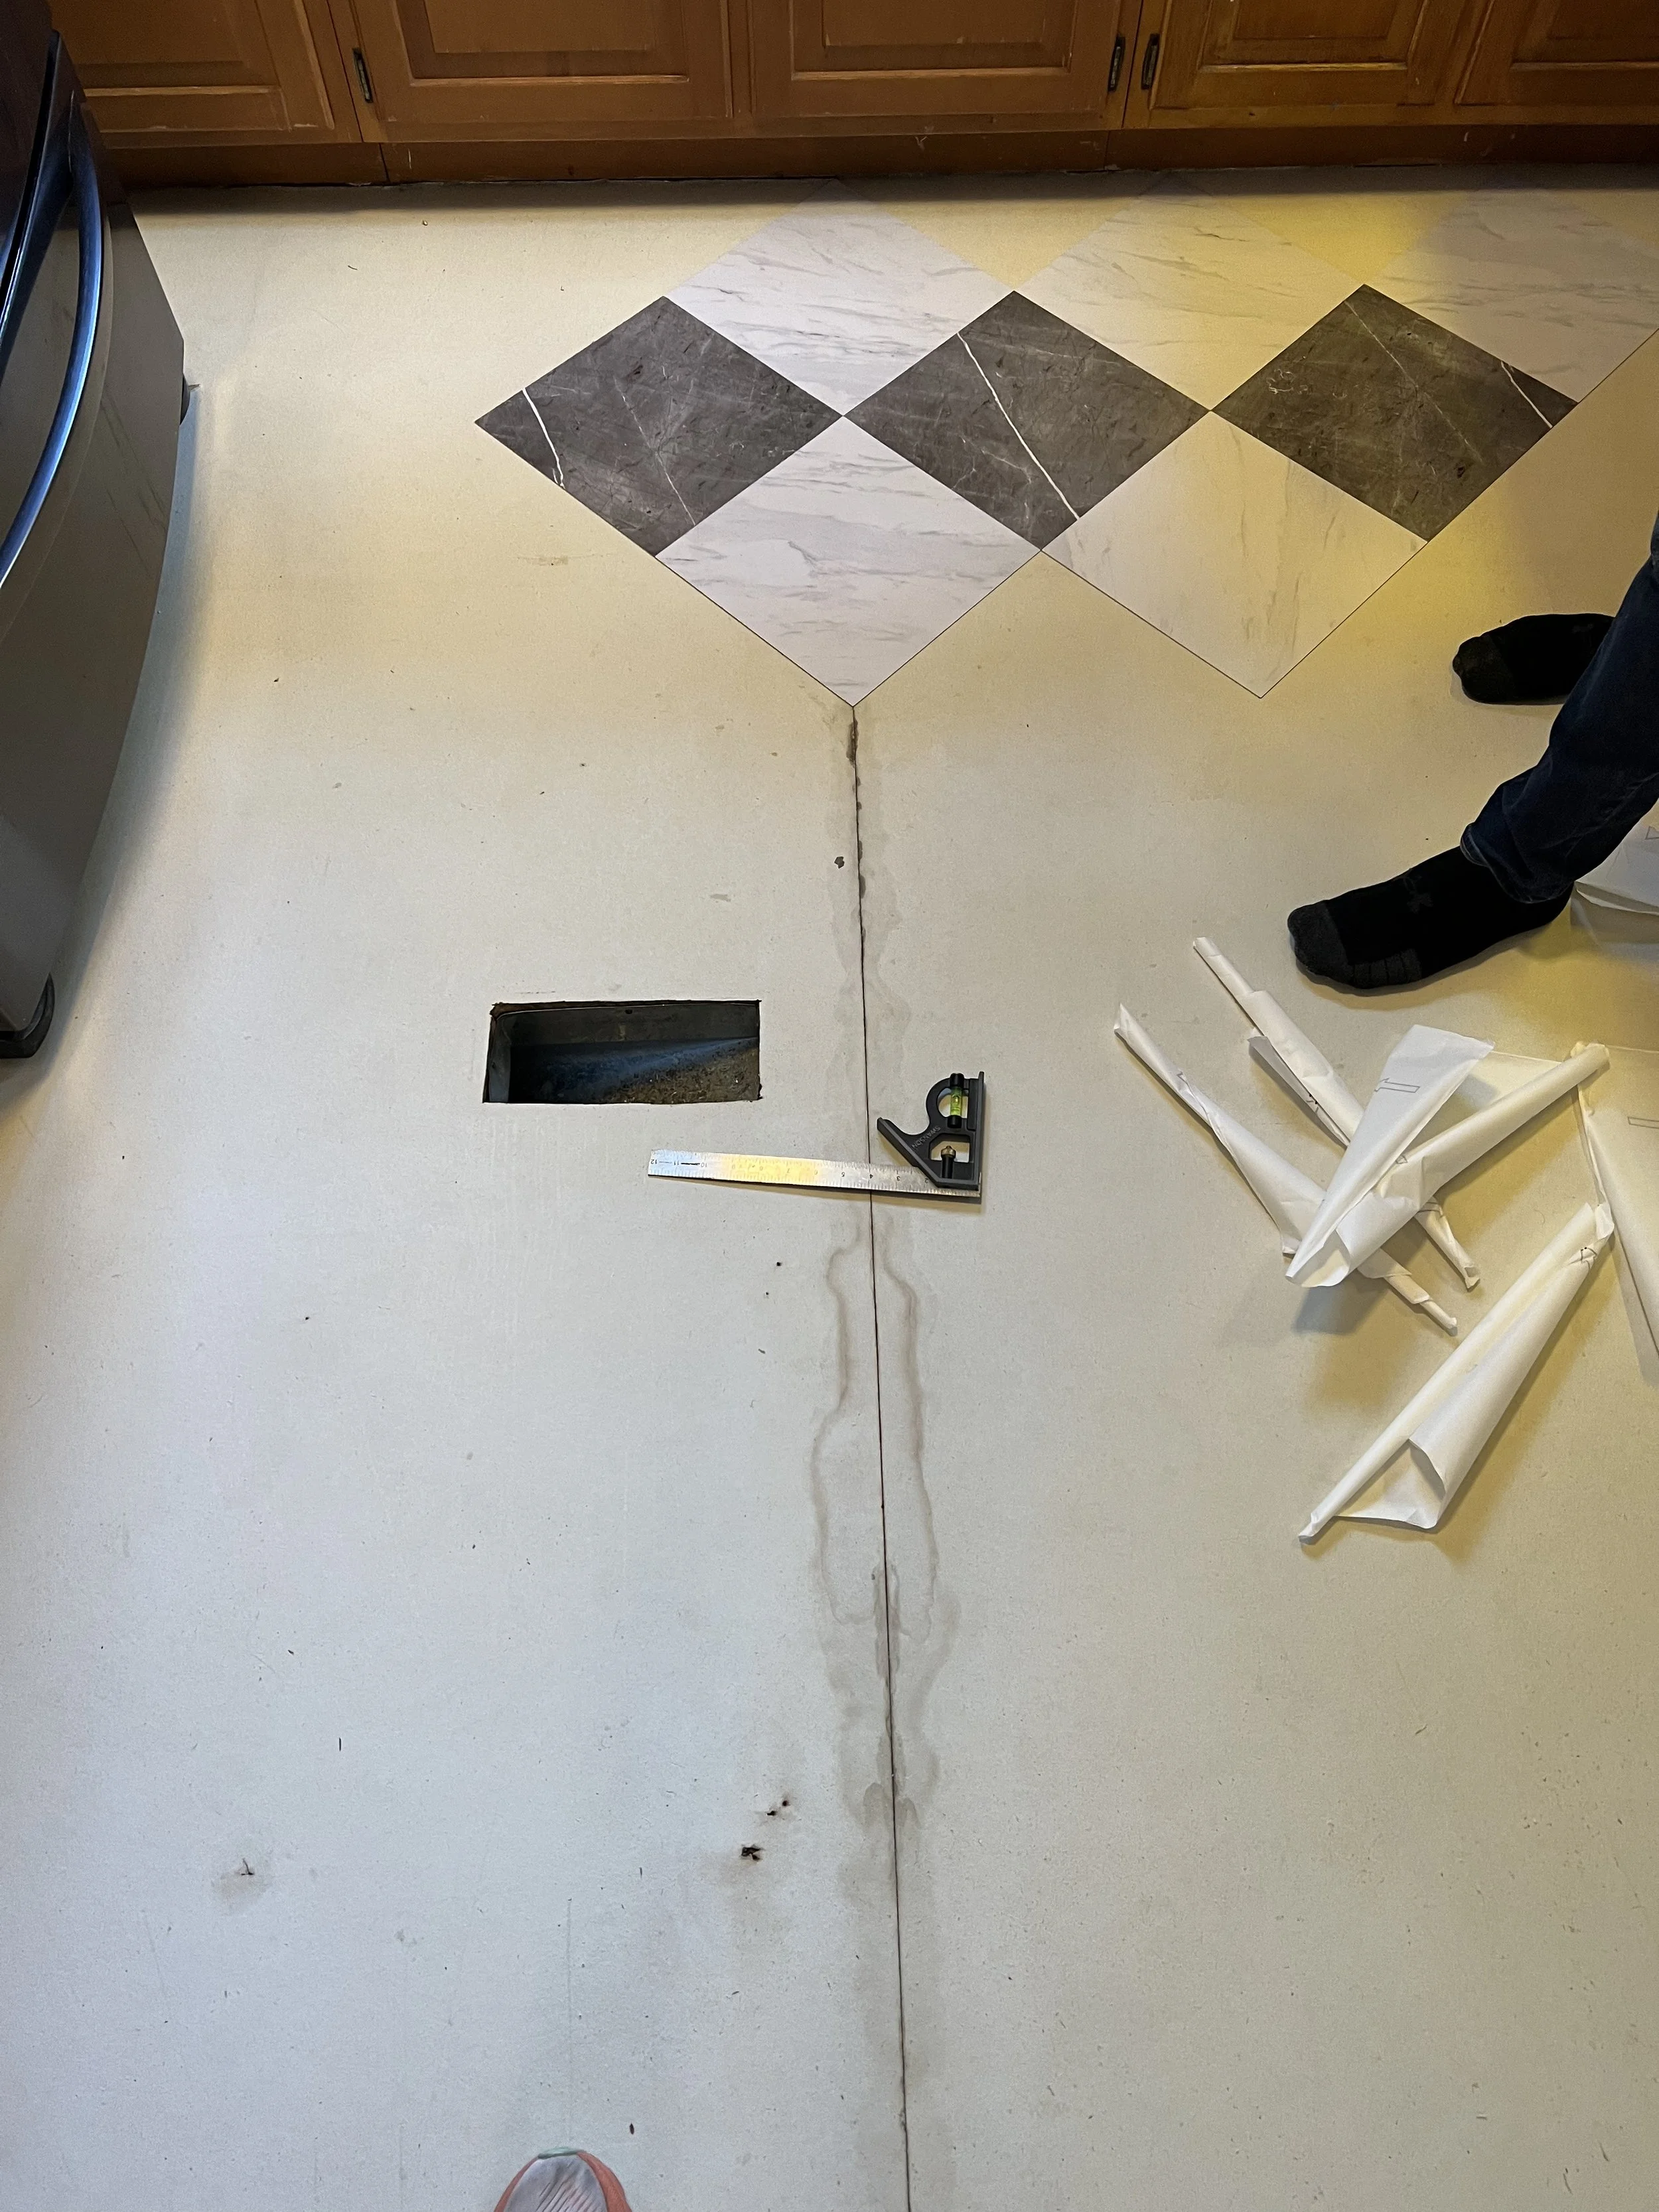
Philip chose to use an original line in the house to start setting the tile since I decided to lay it diagonal.
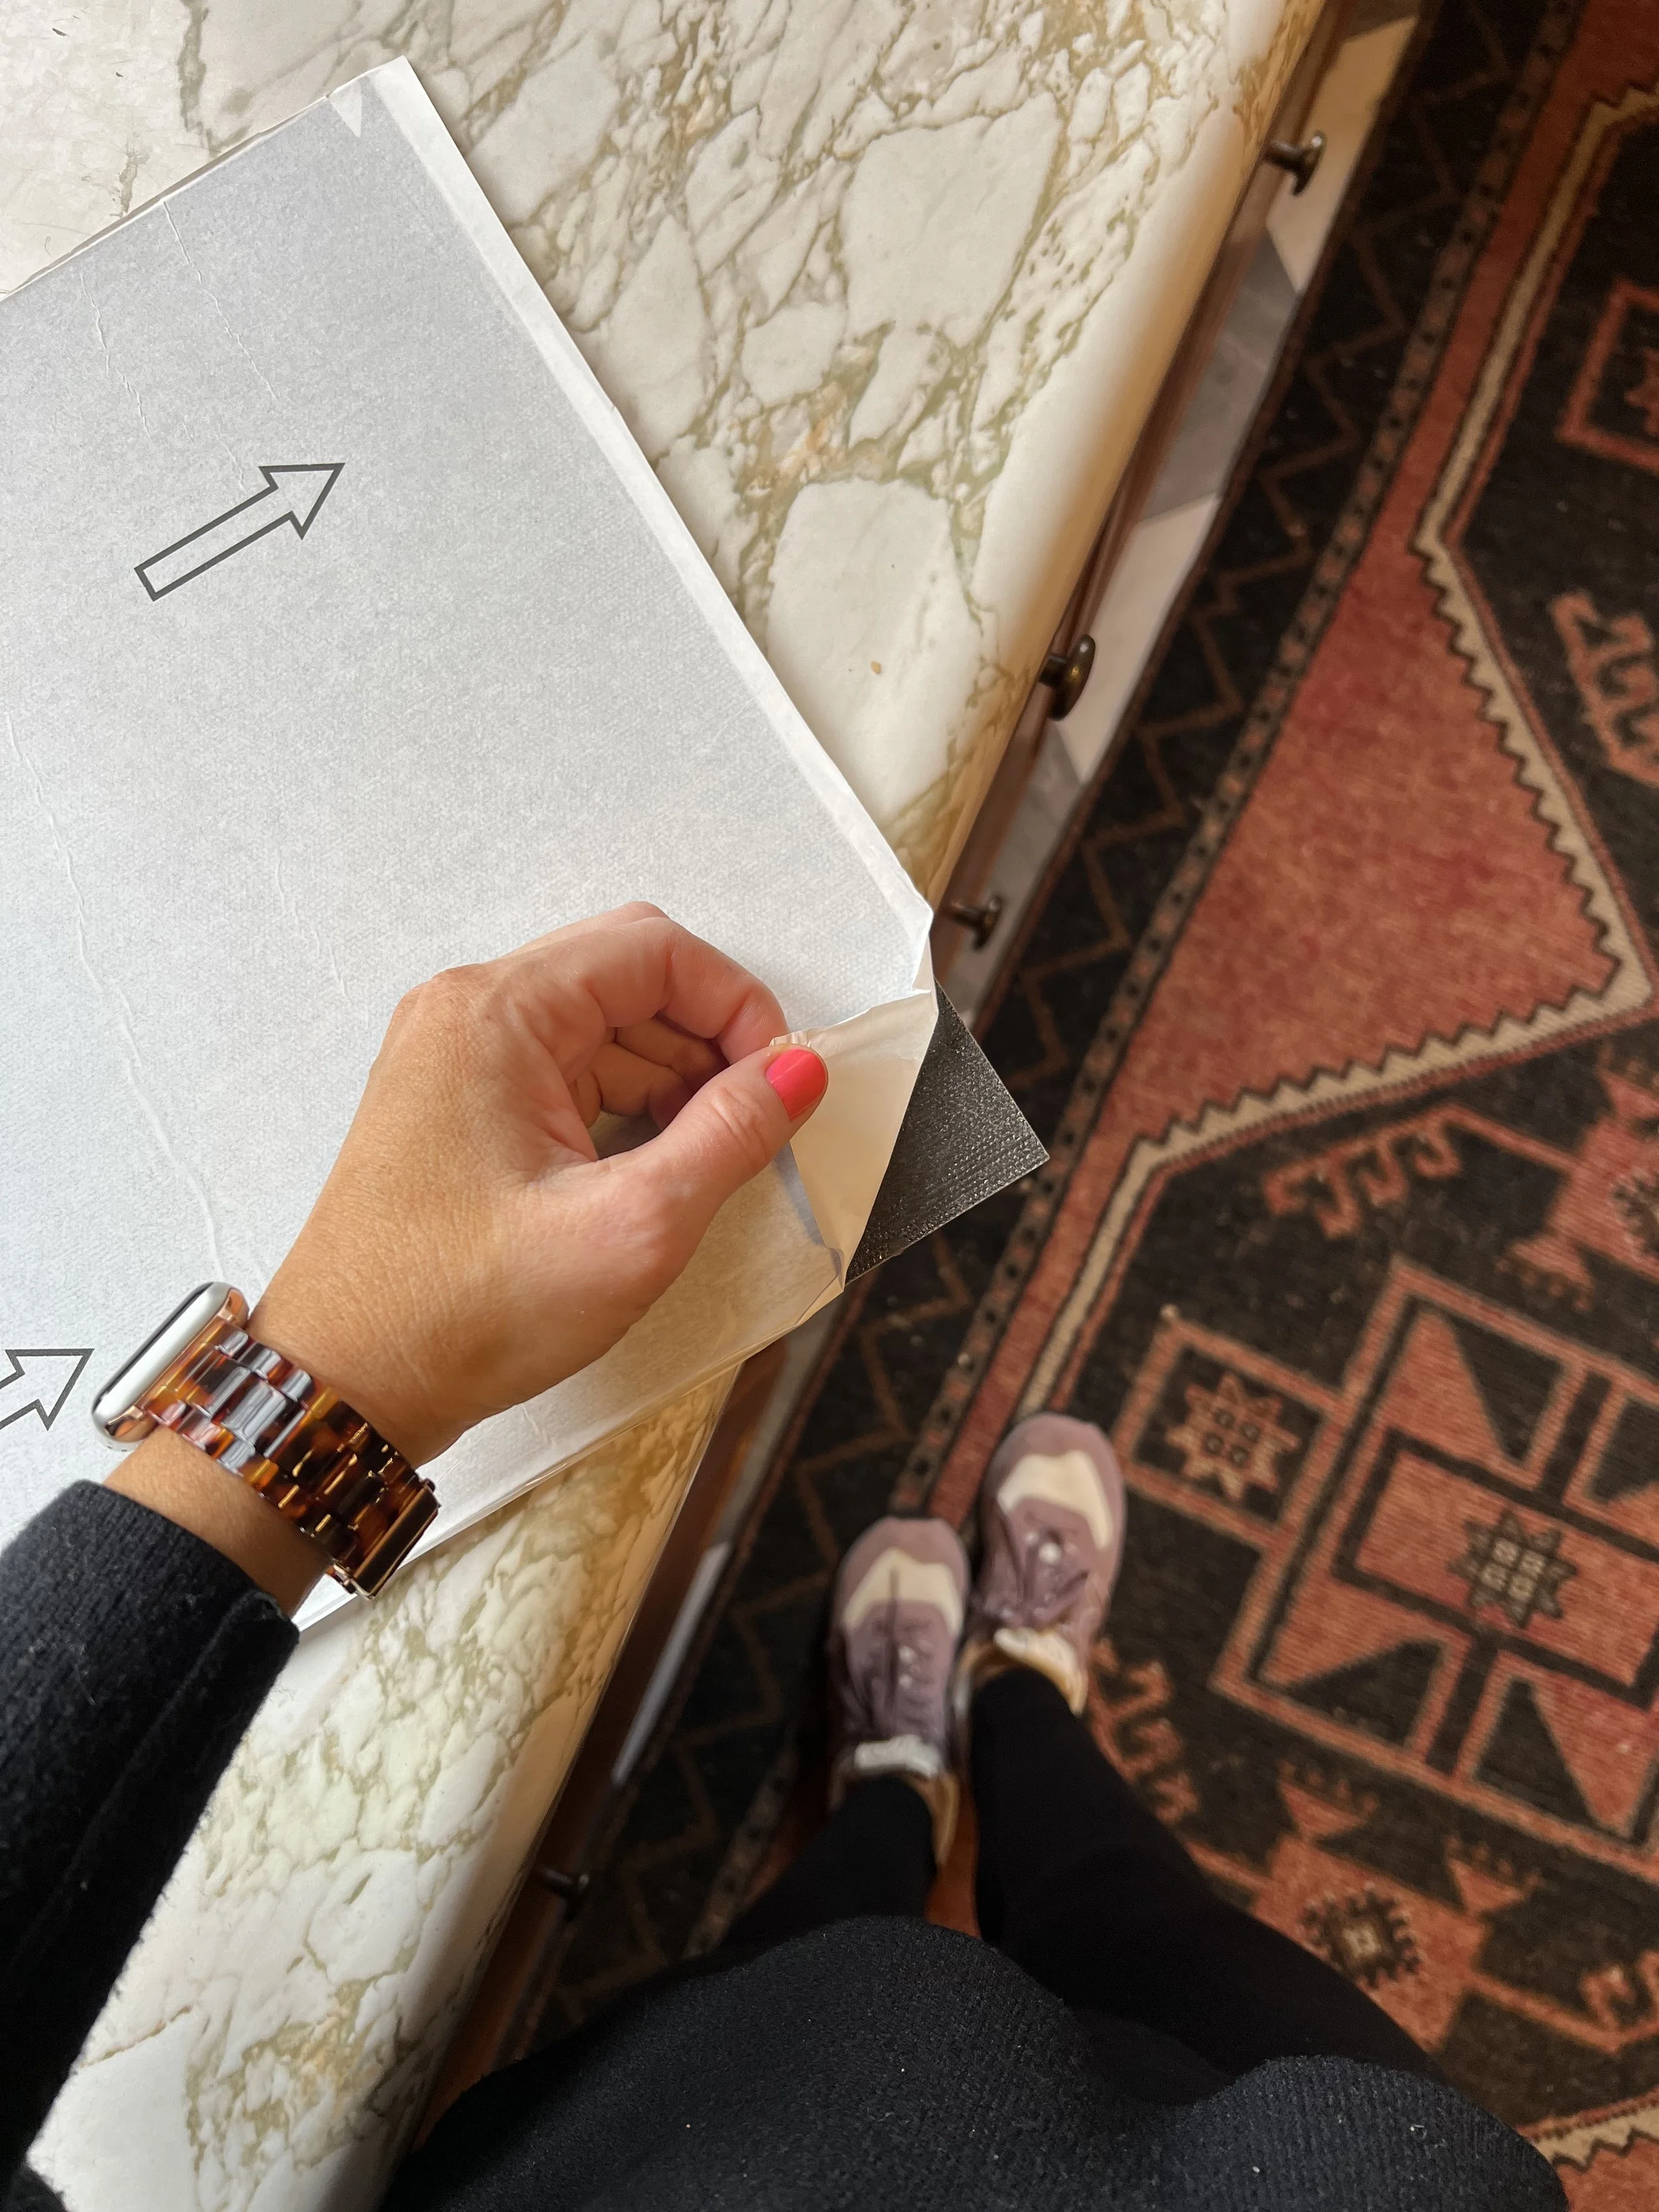
The tiles just peel right off and we used a linoleum roller to smooth them down.
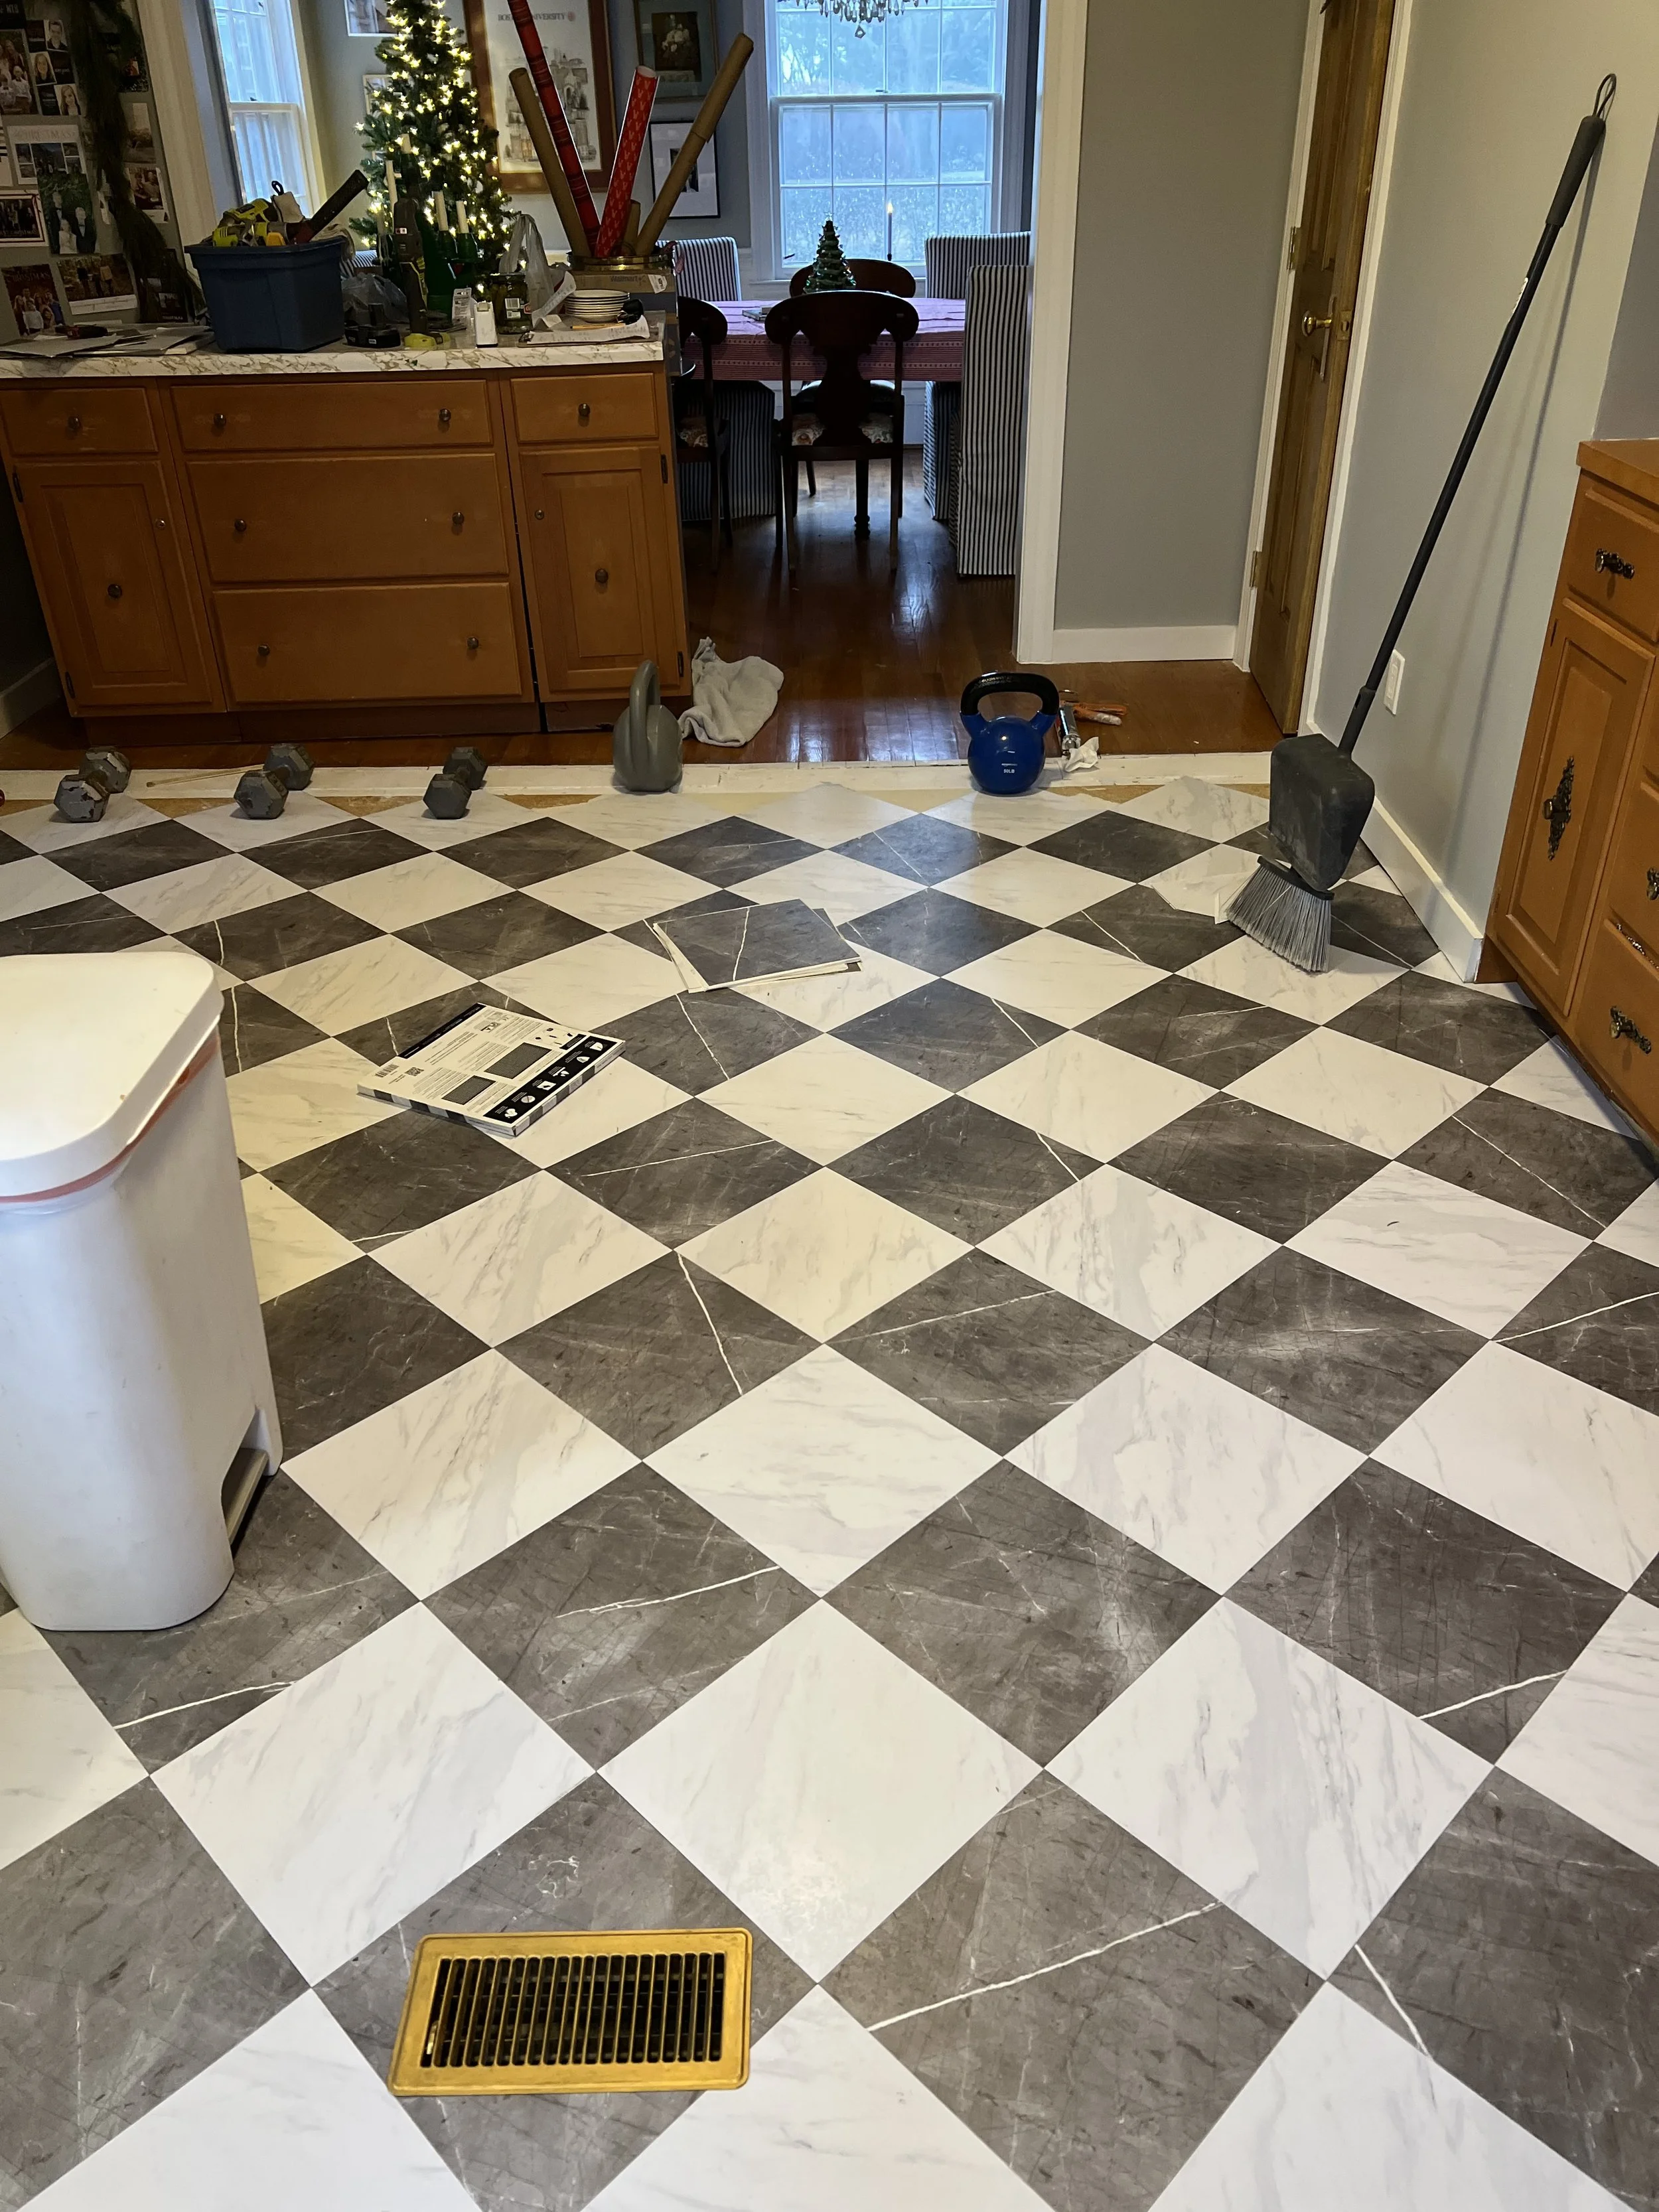
Toward the end of the room, the floors were a little uneven, so we used weights to help them securely attach as well as construction adhesive. They are not intended for uneven floors so this is only our way to make it work in our unique space.
I did not catch a picture of us using an exacto knife to cut and snap these tiles, but that is that you’ll need when you reach an edge.
For some a short video on what we did - look here.

These are the Floor Pop style Bonneville (with Chris loves Julia) and they have frequently been out of stock. A similar style that may be in stock that I considered with pairing the Raven and the Cameron peel and stick tiles by Floor Pops to achieve a similar look.
Let me know if we can answer questions for you!