
DIY Painted Harlequin Floors
/I thought a round-up of what we did to our floors might be helpful if you are interested in trying this or something similar.

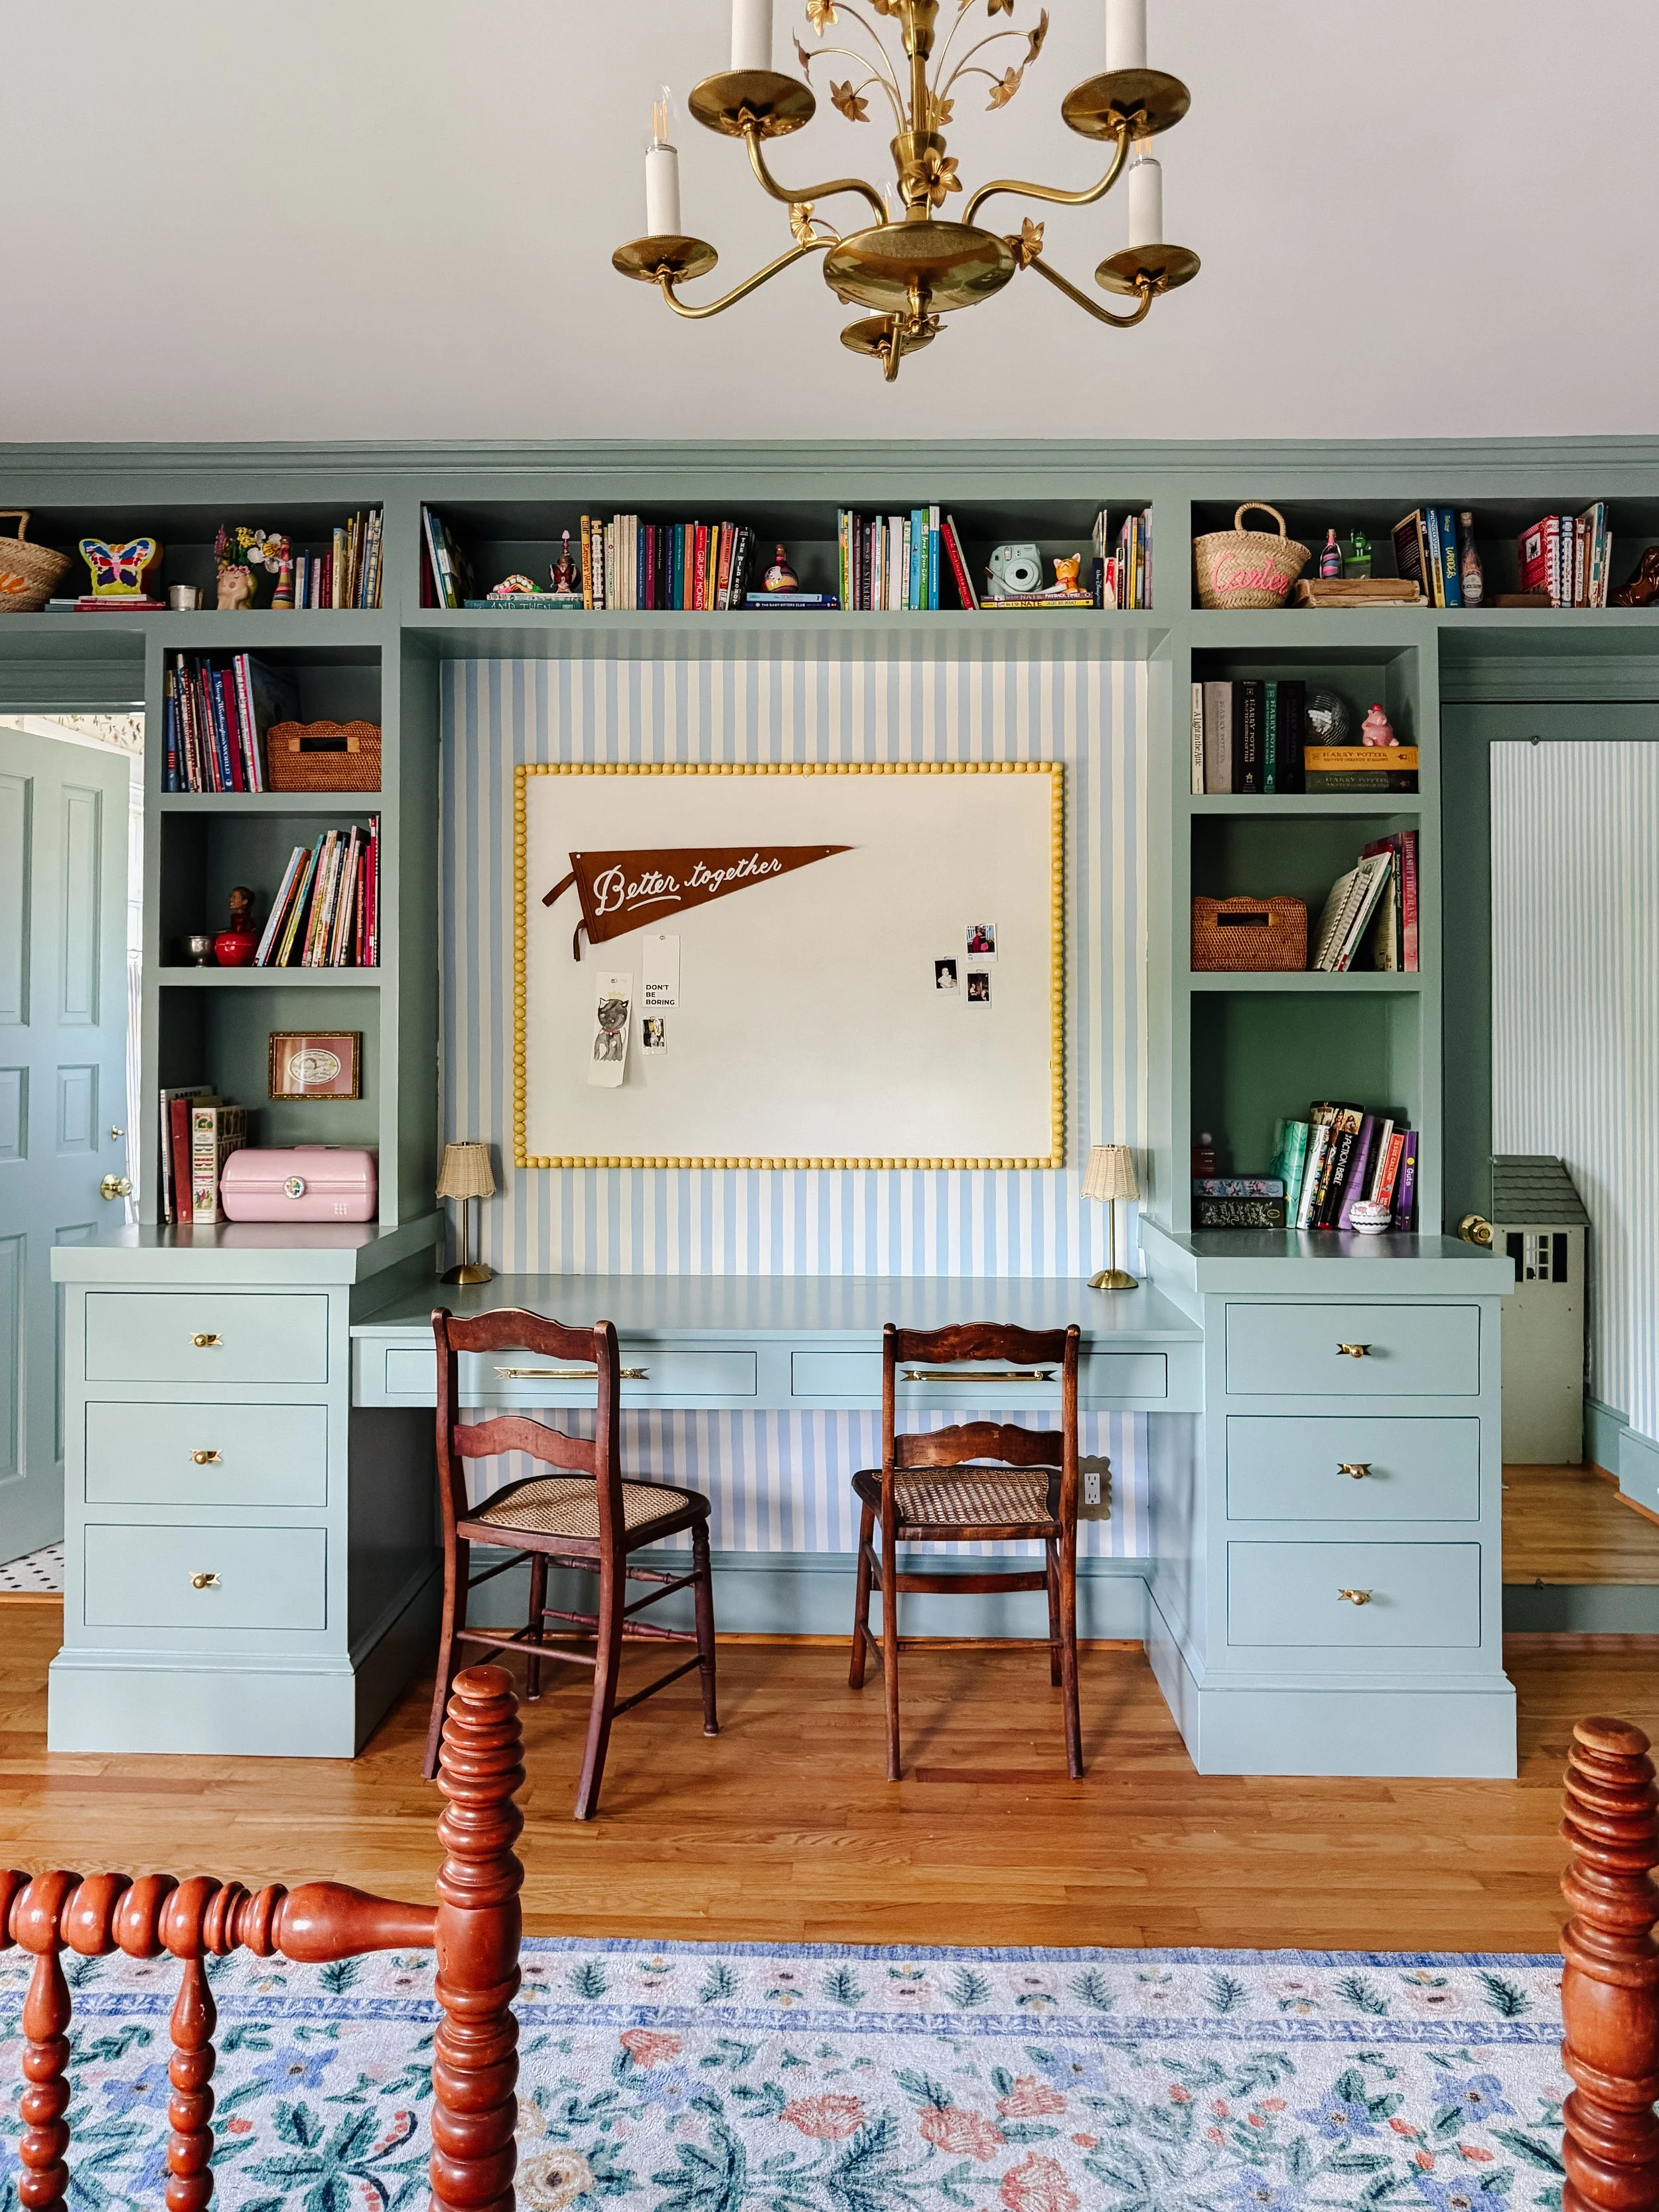
This was our starting point. A lovely 1960s library space…with no storage at all.

We used Weaber Lumber White Oak 2.25” flooring. The rest of our home is red oak - just polyurethane (no stain) so we used Old Master’s Natural Stain to attempt to match the red oak. Our local Spectrum Paint used a wood sample of our’s to try different stain samples for us. We did two coats of water based polyurethane before painting the floors.
The first step was figuring out the center of the room to set our first diamond. We measured from the edges of the room to find the center point. Initially the hardwoods lines helped us to make sure each square was straight.


I laid the template - we used a 12x12 floor pop tile since it was lightweight and I had it on hand. I did not trace the tile because we didn’t want to harm the new floors, but pressed the tile down with my knees while using delicate 3m tape to mark the square.
We then used a dot of tape to make sure we did not paint on the wrong square. The process is confusing to my brain because the squares that remain unpainted look too small.
We knew our floors were laid straight so we used the floor boards as our guide to make sure we were not starting to tiles them crooked.

Paint from one corner of the room and think about your exit plan so you do not paint yourself into a corner… :)
We used Benjamin Moore Command Paint in Black. We chose to brush it on because Philip prefers the look of the brush to the smooth. Command Paint dries very fast so we were able to take the tape off the same day. We also did not want to leave the tape on the new floors too long either.

Water based polyurethane dries much faster. We did another coat of poly on top of the Command paint and let it dry for a few days to help it to cure more.
And here is the room so far…Let me know if I can help clarify anything with the process.